How to Clean Up Screen Recording Audio
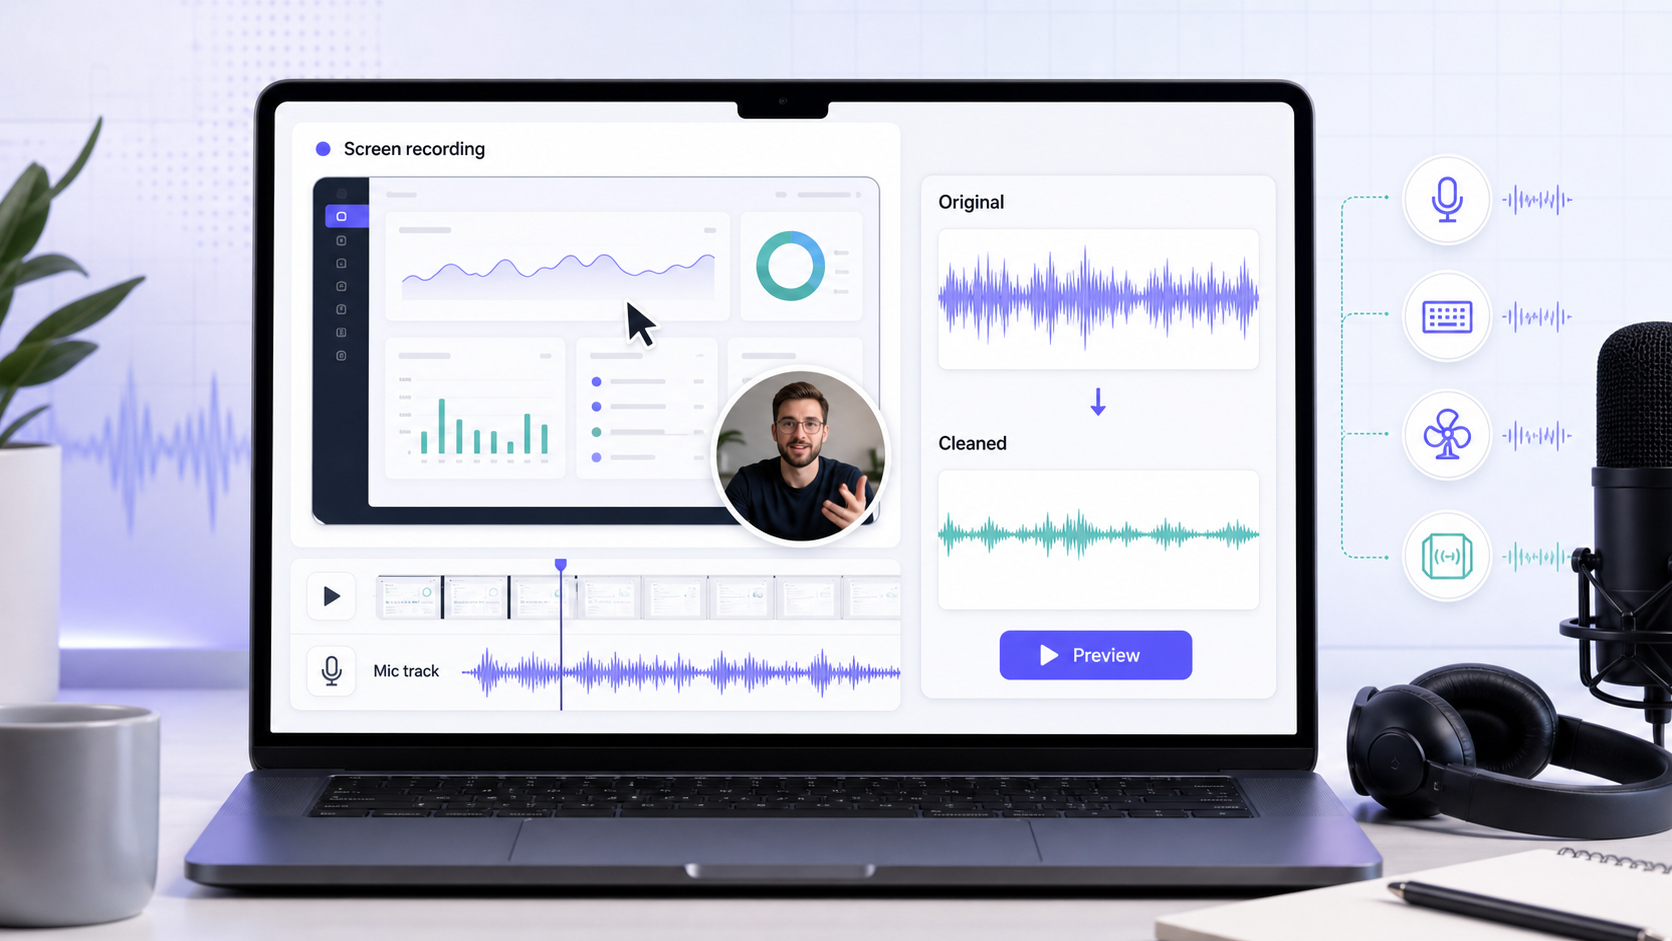
Screen recording audio usually fails in quiet ways: laptop fan noise, keyboard taps, room echo, mouth clicks, a distant microphone, or a browser notification that lands right under a sentence. The video may look fine, but the voice makes the tutorial feel harder to trust.
The practical workflow is: fix the recording setup first, use light live suppression if you need it, then clean the exported file with a preview-first tool. If the recording is already done, start with CleanAudio's video noise remover so the audio stays aligned with the screen capture.
Quick Setup Before Recording
Before you record the next tutorial, do a 20-second test.
- Put the microphone closer than the keyboard.
- Turn off unnecessary fans, speakers, and notification sounds.
- Record in a room with soft surfaces if possible.
- Watch for clipping while you speak loudly.
- Listen to the test through headphones.
This step matters more than any cleanup tool. If your voice is strong at capture, cleanup has something clear to preserve. If the laptop microphone is across the desk near the keyboard, every later step gets harder.
The Main Screen Recording Noise Problems
| Problem | What it sounds like | Best first move |
|---|---|---|
| Computer fan | Constant low or mid noise behind speech | Move mic closer, light denoise |
| Keyboard and mouse | Sharp taps under narration | Reduce typing during speech, local edit when possible |
| Room echo | Hollow voice, hard-room reflections | Move closer, use echo cleanup if already recorded |
| Mouth clicks | Small sticky clicks near words | Hydrate, edit local events, avoid heavy global denoise |
| Notification sounds | One-off alerts | Cut or re-record the sentence |
| Mic clipping | Harsh distorted peaks | Lower input and retake if important |
Screen recording audio is often mixed noise. That is why a single slider rarely solves everything.
If You Use Live Filters
Live filters can help, but they should not become a hiding place for bad capture. OBS documents its Noise Suppression filter as useful for mild background noise or white noise, and specifically notes it is generally not effective for large amounts of background noise in a loud room [1].
That is the right expectation. Live suppression can reduce fan noise while you record. It cannot guarantee clean speech if the microphone is far away, the keyboard is loud, or the room is reflective.
Use live filters lightly:
- Add suppression for steady fan or room bed.
- Avoid extreme settings that make your voice pump or warble.
- Record a short test and listen back before the real take.
- If the filter damages the voice, turn it down and improve mic placement instead.
Clean Up the Exported Recording
After recording, export the video and clean the actual file. This is where CleanAudio fits.
- Upload the screen recording video.
- Let the hybrid model analyze the audio track.
- Preview the cleaned section.
- Check both quiet narration and busy mouse/keyboard moments.
- Download only if the cleaned voice sounds natural.
The advantage is workflow. You are no longer trying to tune filters while teaching, demoing, or presenting. You can finish the recording first, then review the cleanup on the real file.
Manual Cleanup: If You Edit by Hand
If you use a manual editor, treat the recording in layers.
Start with the voice level. Make the spoken part consistent before judging the noise. Next, reduce steady background only as much as needed. If the tool uses a noise profile, choose a section that contains only the background bed. Audacity's support documentation describes this profile-based workflow for constant noise [2].
Then handle local events. A keyboard hit, cough, or alert sound should often be cut, lowered, or patched locally rather than processed across the whole file. Do not use broad denoise to solve one isolated click.
Finally, listen for artifacts. If the voice sounds watery, metallic, or strangely gated, the cleanup is too aggressive.
When CleanAudio Is the Better Fit
CleanAudio is a better fit when the file has several small problems and you do not want to make every edit manually. A typical tutorial might have laptop fan noise across the whole recording, a few mouse clicks, and a slightly reflective room. The hybrid model can analyze the file and route cleanup decisions without asking the user to pick every filter.
It is also useful when the recording is already exported and the priority is speed. Upload, preview, download. If the voice stays clear, the job is done. If the problem is severe clipping or missing speech, the honest answer is still a retake.
Workflow by Use Case
| Use case | Recommended workflow |
|---|---|
| Software tutorial | Close mic, record test, export, CleanAudio preview |
| Webinar recording | Clean exported video, check long quiet sections |
| Course lesson | Prioritize consistent mic placement, then cleanup |
| Product demo | Avoid keyboard during speech, clean final export |
| Internal training | Use AI cleanup if speed matters more than manual polish |
FAQ
Can I clean screen recording audio after recording?
Yes. If the voice is still present, you can clean the exported video file and keep the audio aligned with the screen recording.
Should I use OBS noise suppression while recording?
Use it lightly for mild background noise. OBS describes the filter as useful for mild background or white noise, not as a fix for loud rooms [1].
What if keyboard noise is under my voice?
If the taps happen while you are speaking, they are harder to remove cleanly. Reduce typing during speech, edit isolated hits, or use AI cleanup and preview carefully.
Sources and Further Reading
- OBS Project - Noise Suppression Filter: https://obsproject.com/kb/noise-suppression-filter
- Audacity Support - Noise reduction and removal: https://support.audacityteam.org/repairing-audio/noise-reduction-removal
- Microsoft Support - Clipchamp screen recorder: https://support.microsoft.com/en-us/clipchamp/stream-pages/microsoft-clipchamp-screen-recorder
- DPA Microphones - Speech intelligibility and microphone placement: https://www.dpamicrophones.com/mic-university/audio-production/how-to-improve-speech-intelligibility-when-amplifying-the-voice/