How to Remove Background Noise in Canva Videos
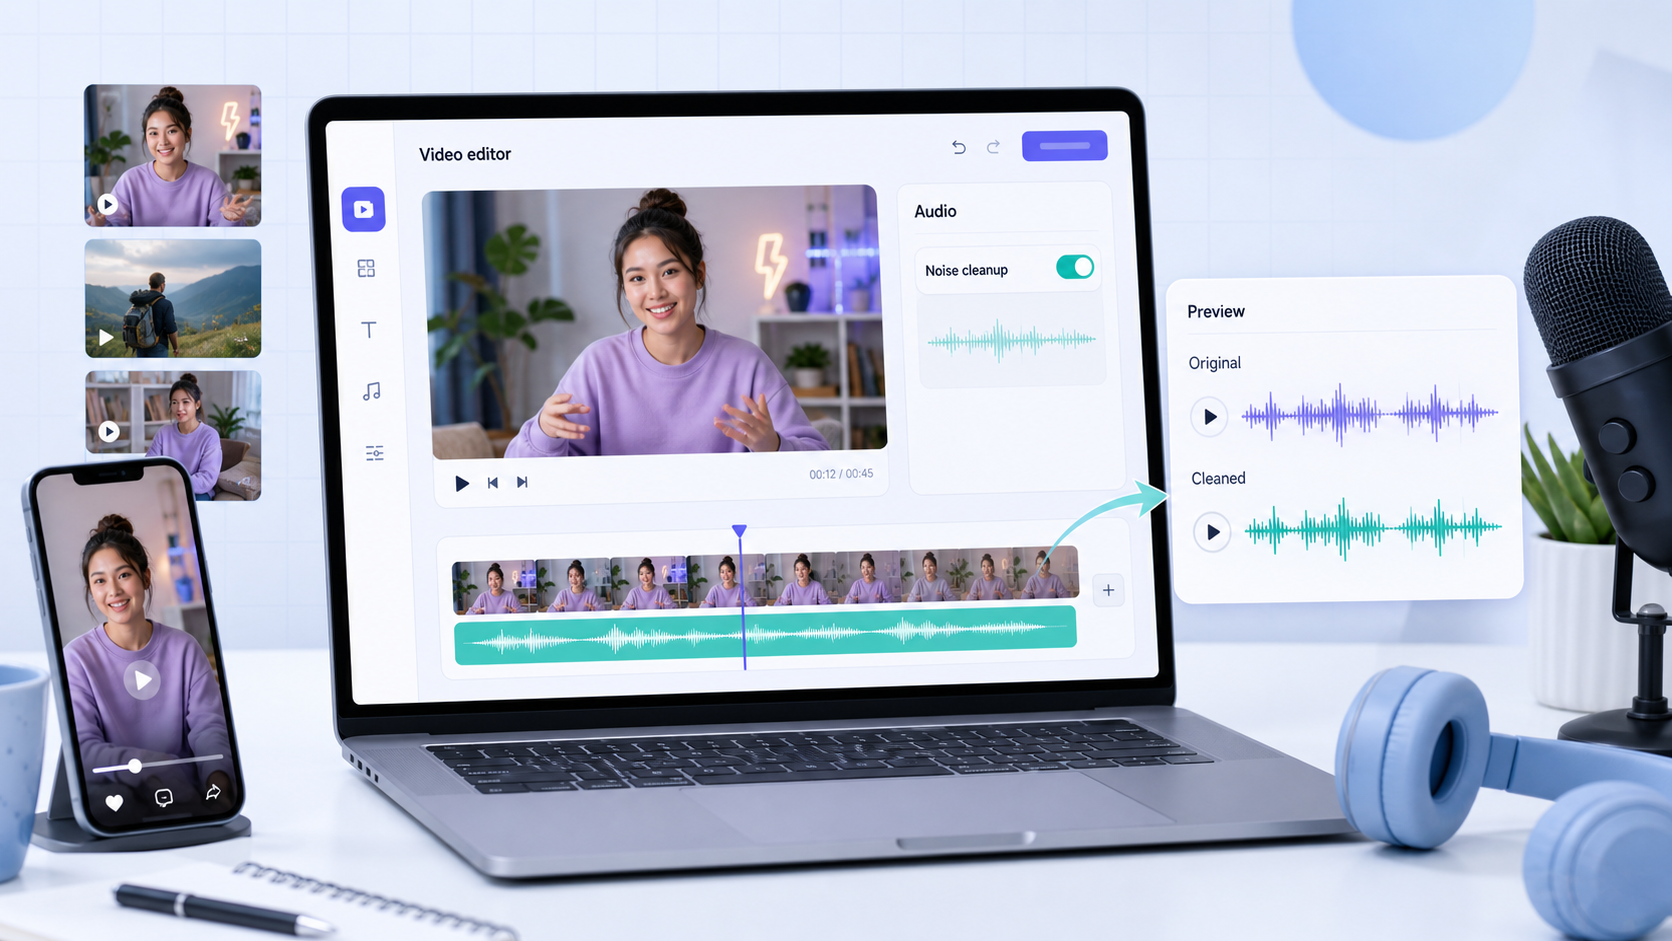
To remove background noise in Canva videos, upload your video, add it to your design, select the video or audio element, open Audio Tools, and turn on Canva's Enhance Voice control. Canva's help page describes this feature as a way to reduce background noise in videos and audio that contain voice [1].
That is enough for many short social clips. But if the audio is the thing that could make or break the piece, do not treat cleanup as the last checkbox before export. Listen first, decide whether Canva's built-in workflow is enough, and use CleanAudio's video noise remover before Canva when the recorded file needs a more focused cleanup pass.
Canva Workflow
Use this path when the video is already in Canva and the noise problem sounds light or moderate.
- Open the Canva design or video project.
- Upload the video or audio file.
- Add the file to the design or timeline.
- Select the video or audio element, not just the page background.
- Open Audio Tools from the quick actions toolbar.
- Turn on Enhance Voice.
- Play the section where the speaker talks over the noise.
- Compare the voice before and after if you still have the original file available.
- Export only if the voice sounds clearer and still natural.
The review step is the part most people rush. Do not judge only from the first clean sentence. Jump to the worst line: the moment with fan noise, traffic, room echo, wind, or another voice near the microphone. If that line still works, the rest of the clip is more likely to work.
If the voice becomes dull, thin, or strangely gated, treat that as a warning. A quieter background is not automatically a better video. The useful result is easier-to-understand speech.
A More Practical Review Pass
After you turn Enhance Voice on, review the file in a fixed order. First, listen to the loudest noise moment. Then listen to the quietest spoken sentence. Finally, listen to the first five seconds after any cut or transition. Those three checks catch most problems: background noise that remains too distracting, speech that becomes too soft, and edits where the processed audio feels different from one section to the next.
If the video has captions, do not use the captions as proof that the audio is fixed. Captions can hide a weak listening experience. The better test is whether someone can understand the speaker without reading. If you have to keep turning the volume up and down, the cleanup is probably not finished.
For short clips, one cleanup pass and one export check may be enough. For longer tutorials, course clips, or product demos, test at least three points in the timeline: the opening, a middle section with normal speech, and the noisiest section. This keeps the workflow practical without turning a simple Canva edit into a full audio engineering session.
What Canva Is Good For
Canva is strongest when cleanup is part of a design workflow. A creator is making a Reel, presentation video, product update, tutorial, or meeting recap and wants the voice to come forward without leaving the editor.
| File type | Canva fit | What to check |
|---|---|---|
| Talking-head social video | Good | Does the voice stay natural after processing? |
| Presentation narration | Good | Are consonants still clear after export? |
| Meeting clip | Mixed | Are multiple speakers handled cleanly? |
| Outdoor phone video | Mixed | Wind may need dedicated cleanup |
| Echo-heavy room | Limited | Reflections can attach to the voice |
| Clipped audio | Poor | Damaged speech cannot be restored reliably |
This is not a criticism of Canva. Canva is a design and video creation tool with a useful voice-focused audio control. It is excellent when visual layout, captions, templates, and export are the main job. It is less ideal when the file needs detailed audio diagnosis before the design work begins.
Noise Types to Check Before You Export
Different background sounds behave differently. A steady fan is not the same problem as room echo, and wind is not the same problem as cafe chatter.
| Noise type | Canva first? | Better path if it struggles |
|---|---|---|
| Fan, AC, light room bed | Yes, worth trying | CleanAudio if the voice still feels buried |
| Room echo | Try only if mild | Use remove echo from audio when the room sounds hollow |
| Wind in phone video | Mixed | Use a wind-specific workflow if gusts hit the mic |
| Traffic or cafe chatter | Mixed | Use AI cleanup and preview the worst phrase |
| Keyboard taps | Mixed | Edit isolated hits or use cleanup for repeated light taps |
| Clipping | No reliable fix | Retake or replace the line if possible |
Audacity's documentation makes the same practical distinction for noise reduction: constant sounds are better candidates than irregular traffic or audience noise, and loud or voice-like noise can be difficult to remove cleanly [2].
When to Clean Before Canva
Clean the file before Canva when the audio quality is the main risk. This is common with client testimonials, ads, course videos, product demos, and founder clips where the design can be beautiful but the message fails if the speaker is hard to understand.
The order is:
- Upload the raw video to CleanAudio.
- Let the hybrid model analyze the audio track.
- Preview the cleaned result.
- Download if the voice is clearer and still natural.
- Bring the cleaned file into Canva for captions, layout, templates, and export.
This order saves rework. You do not want to finish a full Canva design and only then discover that the voice still sounds buried under fan noise, wind, or room echo.
When to Clean Inside Canva
Use Canva first when the audio problem is small and the visual project is already built. For example, a short internal update with mild room tone may not need a separate cleanup step. Turn on Enhance Voice, listen to the worst sentence, and export if the voice holds up.
Canva is also the simpler path when speed matters more than detailed control. A quick social clip does not always need the same workflow as a paid ad, webinar replay, or course lesson.
A Simple Decision Rule
Use Canva when the file is already in the design and the noise is light enough that one built-in voice cleanup pass solves the problem. Use CleanAudio before Canva when the file is not ready for editing yet: the voice is buried, the noise changes across the clip, or you need to know whether the recording is usable before spending time on captions, templates, and visual polish.
This is the same reason cleanup should happen early in the workflow when the recording is risky. A polished Canva design cannot rescue a voice track that still feels tiring to listen to. Clean the audio first, preview the result, then bring the better file into Canva for the visual work.
Canva vs CleanAudio
| Need | Canva fit | CleanAudio fit |
|---|---|---|
| Create the visual design | Strong | Not the main job |
| Quick voice cleanup inside a Canva project | Strong | Secondary |
| Diagnose mixed noise before editing | Limited | Stronger fit |
| Preview a cleaned file before design work | Possible but not the core workflow | Strong |
| Dedicated audio/video cleanup workflow | Secondary | Strong |
| Social export and templates | Strong | Not the main job |
Think of Canva as the place where the finished asset comes together. Think of CleanAudio as the place where a noisy recorded file gets cleaned and reviewed before the visual work hardens around it.
Common Mistakes
| Mistake | Why it hurts | Better move |
|---|---|---|
| Waiting until the end to check audio | You may have to rework the video after designing everything | Clean the file first if audio is risky |
| Judging only from the first sentence | The hard section may still fail | Preview the noisiest spoken line |
| Using one-click cleanup on severe echo | Echo overlaps with the voice | Use a dedicated echo workflow |
| Expecting wind recovery from clipped footage | Clipping means detail was lost at capture | Retake or use a wind-specific workflow |
| Exporting without headphones | Small artifacts can hide on laptop speakers | Listen once on headphones before publishing |
FAQ
Can Canva remove background noise from video?
Canva's help documentation says its Enhance Voice control can reduce background noise in videos and audio that contain voice [1].
Should I clean audio before or after Canva?
If the audio issue is small and the project is already in Canva, try Canva first. If the audio is the main problem, clean and preview the recorded file before you build the design.
What if Canva cleanup makes the voice sound unnatural?
Use the original file, try a dedicated cleanup workflow, or retake if the voice was too damaged. The goal is clearer speech, not silence at any cost.
Sources and Further Reading
- Canva Help Center - Remove background noise in videos and audio using Enhance Voice: https://www.canva.com/help/enhance-voice/
- Audacity Manual - Noise Reduction: https://manual.audacityteam.org/man/noise_reduction.html
- Canva Help Center - Edit audio: https://www.canva.com/help/edit-audio/