How to Remove Background Noise in Clipchamp
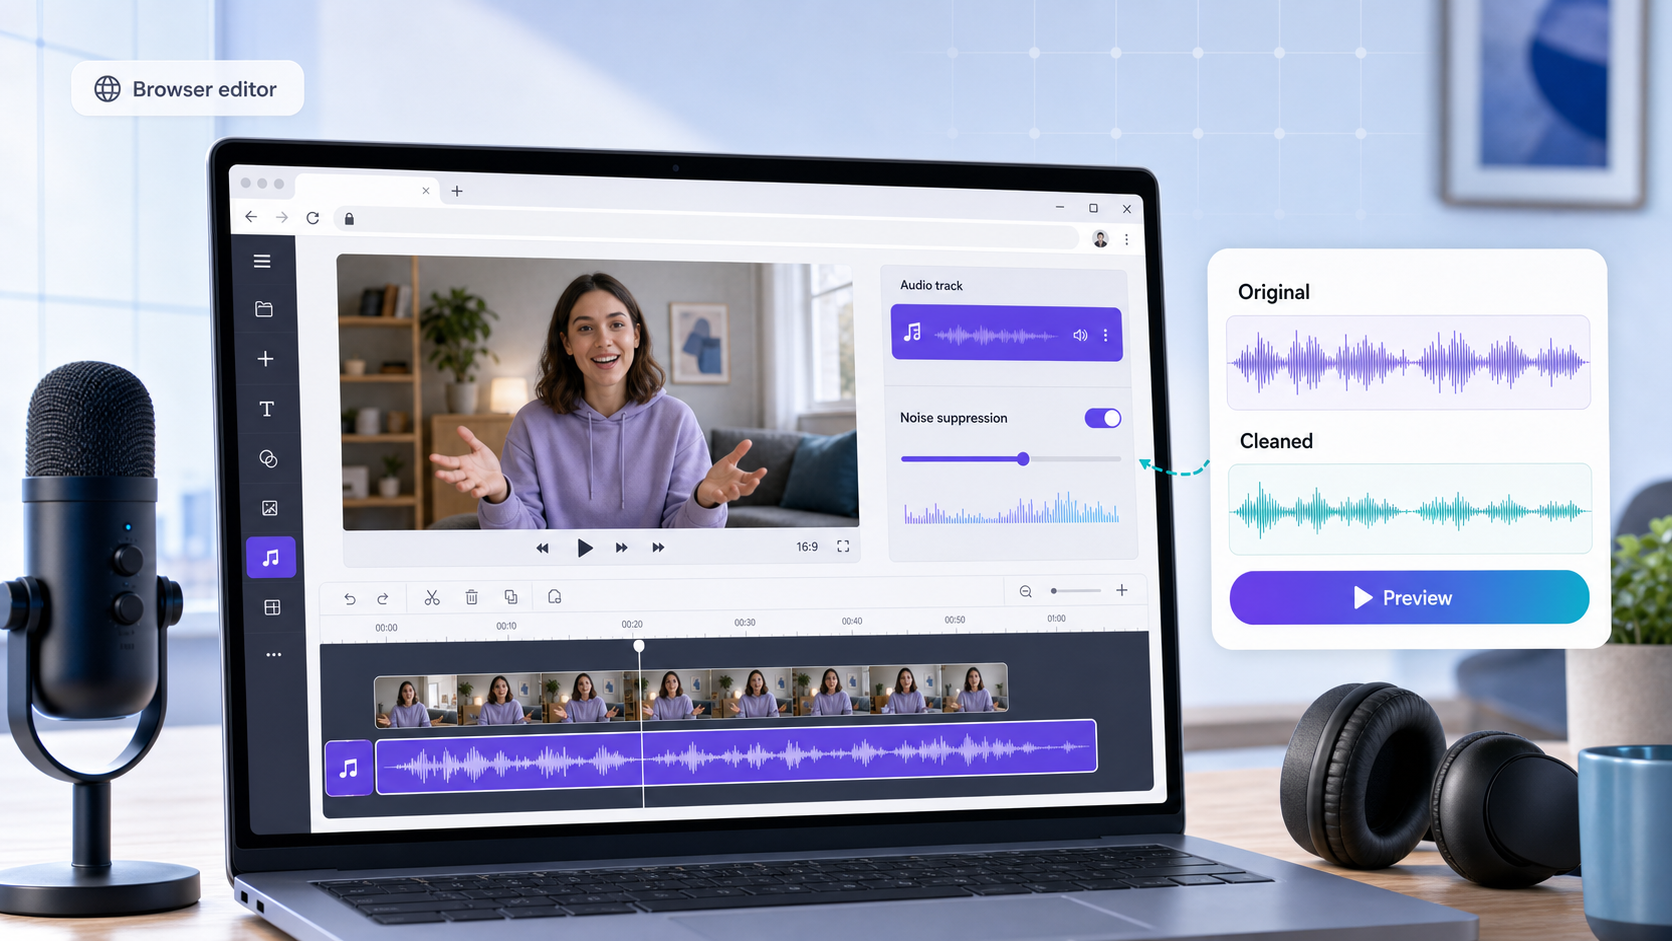
To remove background noise in Clipchamp, import the video or audio file, add it to the timeline, select the audio asset, open the Audio tab in the right property panel, and turn Noise suppression on. Microsoft's support page says that if you are cleaning a video clip, you need to detach the audio from the video first [1].
That makes Clipchamp useful for Windows and browser-based video editing. The key is using it in the right order. Clipchamp is good when you are already trimming, captioning, and exporting a video. CleanAudio's video noise remover is a better first step when the main job is cleaning a noisy recorded file before editing.
Clipchamp Workflow
Follow Microsoft's documented order, but add a review step before you export.
- Import noisy video footage or an audio file.
- Drag the media onto the timeline.
- If it is a video, select the video clip.
- Open the Audio tab in the right property panel.
- Click Detach audio.
- Select the detached audio asset on the timeline.
- Open the Audio tab again.
- Toggle Noise suppression on.
- Let the editor process the audio.
- Preview the noisiest spoken section before exporting.
- If the voice sounds processed, return to the original and try a different cleanup path.
Microsoft describes the noise suppression tool as compatible with audio files added to the editing timeline, and says video clips with embedded audio need the audio separated first [1]. That detail matters because many users expect the control to work directly on the video clip.
After detaching audio, keep your timeline organized. The audio asset now behaves like its own timeline item, so avoid moving it out of sync with the video. If you trim the video after detaching, check that the cleaned audio still lines up with the speaker's mouth, slide clicks, or screen-recording actions.
After Detaching Audio, Work Carefully
The detach step is useful, but it also creates one extra thing to manage. Once the audio is separated from the video, keep it aligned with the picture. If you trim the video after detaching, check the sentence at the trim point, not just the start of the clip. Dialogue that is even a little late or early can make a tutorial, interview, or screen recording feel broken.
A practical Clipchamp cleanup pass looks like this: detach the audio, turn on Noise suppression, preview the noisiest spoken line, then check sync around the edits. If the cleaned version sounds better but slightly unnatural, compare it with the original before exporting. If the original is noisy but more intelligible, the cleanup setting may not be the right path for that file.
This is also where headphone review matters. Laptop speakers can make a processed voice seem acceptable because they hide detail. Headphones make gating, dull consonants, metallic tone, or missed background noise much easier to hear before the final export.
What Clipchamp Is Best For
Clipchamp is useful when cleanup is part of a broader edit: trimming, adding captions, arranging clips, and exporting a finished video.
| Job | Clipchamp fit | Watch out for |
|---|---|---|
| Simple talking-head clip | Good | Preview the processed speech |
| Screen recording | Good | Keyboard and fan noise may vary |
| Video with embedded audio | Good after detaching audio | Detach step is required |
| Audio-only file | Good | Add it to the timeline first |
| Heavy echo | Mixed | Echo is reflected voice, not only background noise |
| Wind-clipped phone video | Limited | Clipping may not recover |
Clipchamp is especially practical when the video already lives in a Microsoft/browser workflow. It is less ideal when you want to clean multiple files before editing, compare several noise-specific cleanup paths, or make the audio decision before you commit to the edit.
What to Listen for After Noise Suppression
Do not assume the processed file is better just because the background got quieter. Listen for three things.
First, check intelligibility. Are words easier to understand? If not, the cleanup may be lowering background sound without improving the real problem.
Second, check voice texture. If the voice sounds hollow, watery, metallic, or gated, the tool may be cutting into speech detail.
Third, check timing. Because video audio may be detached before suppression, make sure the audio still matches visible mouth movement, cursor actions, or slide changes after editing.
Audacity's manual gives a useful general caution: higher noise reduction values can make noise quieter but damage the remaining audio, and variable or loud noise can lead to distorted results [2]. That principle applies to any cleanup workflow.
Noise Types: What Usually Works and What Needs Care
| Noise type | Clipchamp first? | Better path if it struggles |
|---|---|---|
| Light fan or room bed | Yes | CleanAudio if the whole file needs review |
| Screen recording keyboard noise | Mixed | Edit isolated taps, then clean the remaining bed |
| Cafe chatter or traffic | Mixed | Use preview-first AI cleanup and check the worst phrase |
| Room echo | Limited | Use remove echo from audio for hollow rooms |
| Wind bursts | Mixed to limited | Use a wind-specific workflow if the mic was hit by gusts |
| Clipped speech | Poor | Retake or replace the line if possible |
This section is where many quick tutorials are too thin. Noise suppression is not one universal fix. The best result depends on whether the unwanted sound is steady, changing, overlapping the voice, or already baked into damaged audio.
Where CleanAudio Fits
Use CleanAudio when the cleanup task should happen before or outside Clipchamp.
- Upload the video to CleanAudio.
- Let the hybrid model analyze the audio track.
- Preview the cleaned result.
- Download if the voice sounds better and still natural.
- Bring the cleaned file into Clipchamp for trimming, captions, layout, and export.
This is useful for creator files with mixed noise: a screen recording with laptop fan noise, a tutorial with keyboard taps, or a video that moves between indoor and outdoor sections. CleanAudio is designed around the recorded-file cleanup decision. Clipchamp is designed around editing and exporting the video.
The practical distinction is simple. If your first question is "how do I finish this edit?", Clipchamp is the natural place to work. If your first question is "can this noisy file be made usable?", clean and preview the audio before you invest more time in the edit.
A Practical Order for Creator Workflows
For a simple edit, stay inside Clipchamp. Import, detach audio if needed, apply Noise suppression, review, trim, caption, and export. That is the lowest-friction path when the recording is already mostly usable.
For a file where audio quality is the open question, reverse the order. Clean the file first in CleanAudio, preview whether the voice is actually easier to understand, then bring the cleaned result into Clipchamp. This avoids building an edit around a recording that may still be too noisy, too echo-heavy, or too damaged to use.
A good rule is to decide before trimming. If the noisy audio affects only one short moment, editing inside Clipchamp may be enough. If the noise runs underneath the entire voice track, clean first. If the problem is clipped speech or a missing voice, neither workflow should be treated as magic; retaking the line may be faster than trying to repair it.
Clipchamp vs CleanAudio
| Need | Clipchamp fit | CleanAudio fit |
|---|---|---|
| Browser-based video editing | Strong | Secondary |
| Noise suppression inside an edit | Strong | Secondary |
| Dedicated cleanup before editing | Possible | Strong |
| Mixed noise diagnosis | Limited | Stronger fit |
| Detach audio control | Built into workflow | Not needed for cleanup review |
| Final social/video export | Strong | Not the main job |
Neither workflow cancels the other. A clean practical sequence is: clean the noisy file first when audio is the risk, then use Clipchamp to finish the video.
Common Mistakes
| Mistake | Result | Better move |
|---|---|---|
| Looking for suppression before detaching audio | The expected control may not be available on the video clip | Detach audio first, then select the audio asset |
| Moving detached audio accidentally | Speech may drift out of sync with the picture | Check sync after trimming |
| Turning cleanup on and exporting immediately | You may miss robotic or dull voice sections | Preview the noisiest spoken line |
| Treating echo as simple background noise | The voice may still sound distant | Use a dedicated echo workflow |
| Trying to fix clipped audio | Harsh distortion can remain | Retake or replace the line if possible |
FAQ
Can Clipchamp remove background noise?
Yes. Microsoft documents a Noise suppression tool in Clipchamp that can remove background noise from videos and audio after the audio is on the editing timeline [1].
Why do I need to detach audio in Clipchamp?
Microsoft's workflow says that to use noise suppression on a video, you separate the audio from the video first, then apply suppression to the audio asset [1].
Should I use Clipchamp or CleanAudio first?
Use CleanAudio first if audio cleanup is the main risk. Use Clipchamp first if the edit is the main job and the noise issue is light.
Sources and Further Reading
- Microsoft Support - How to use noise suppression in Clipchamp: https://support.microsoft.com/en-us/clipchamp/how-to-use-noise-suppression
- Audacity Manual - Noise Reduction: https://manual.audacityteam.org/man/noise_reduction.html
- Microsoft Support - Clipchamp video editing features: https://support.microsoft.com/en-us/clipchamp/video-editing-features