How to Remove Wind Noise from Video
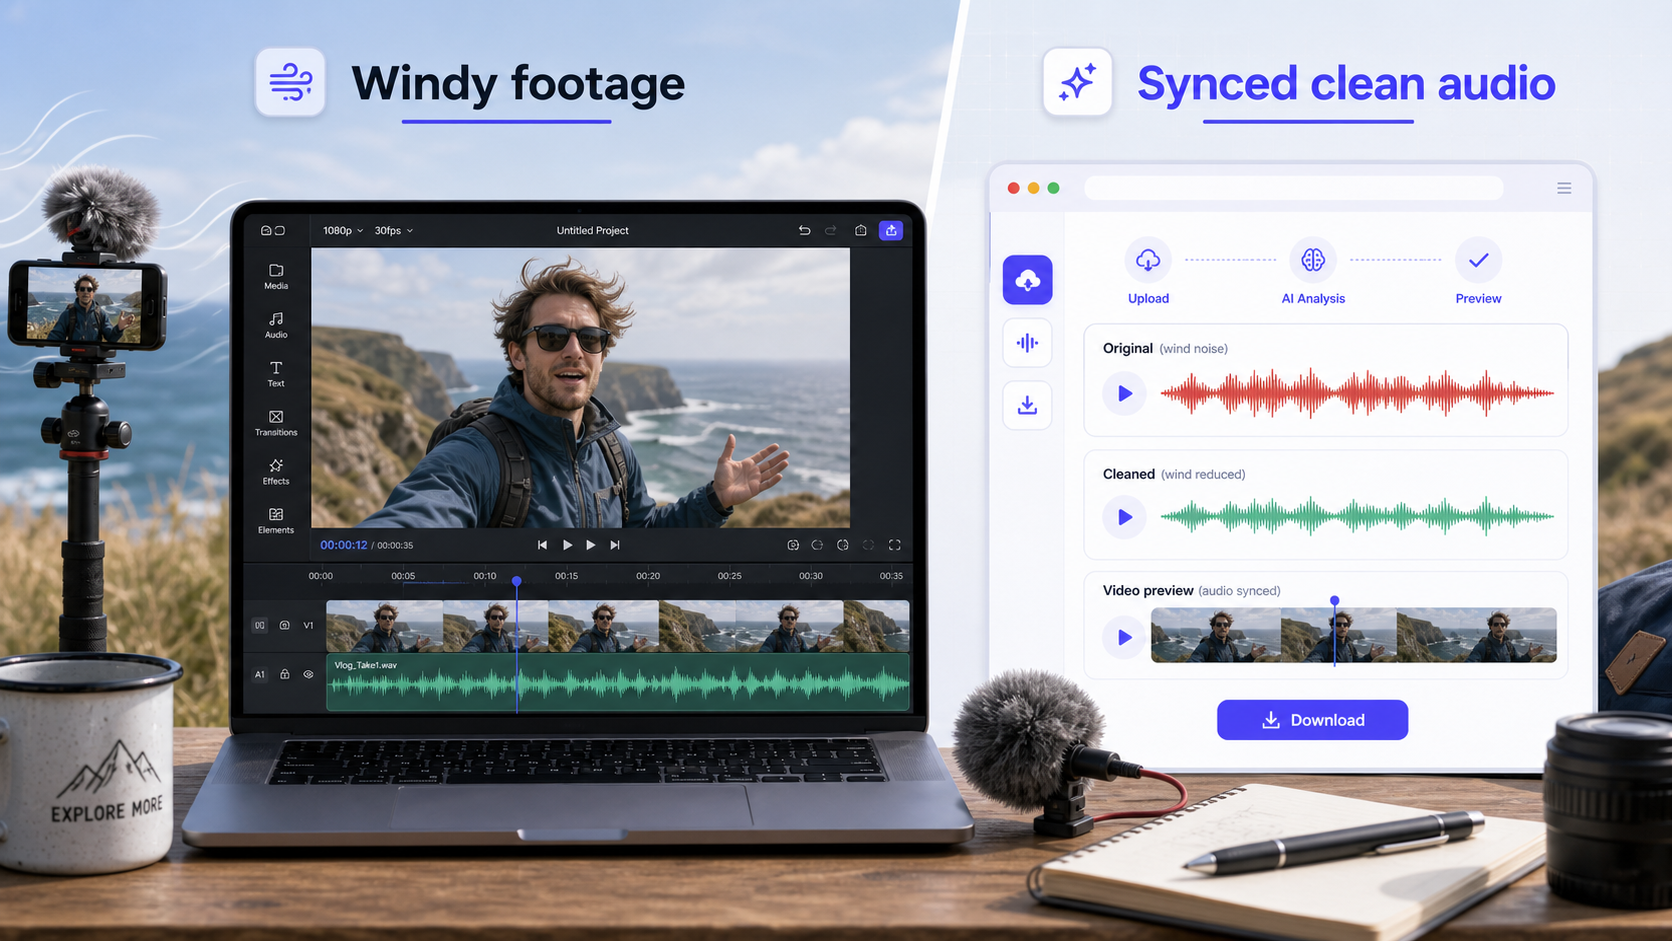
To remove wind noise from video, treat it as an audio problem first and a video problem second. If the voice is still understandable and the wind mostly lives as low rumble, you can often improve the clip. If gusts hit the microphone directly and cover whole words, cleanup may reduce distraction but it will not fully restore what was never captured clearly.
That distinction is why so many video tutorials disappoint. The picture makes users think they are solving a video issue. The microphone tells a different story. Wind noise is created by turbulence at or around the mic opening [1], and DPA's wind-protection guidance shows why prevention matters so much: the protection is reducing noise created in the microphone, not deleting the weather from the scene [2].
If you want the fastest recovery path for creator footage, CleanAudio's video cleanup workflow is the practical place to start when the dialogue still exists but wind keeps pulling attention away from it. For related reading, see remove noise from video online free, how to remove background noise from video, and how to remove wind noise from audio.
Why Windy Video Is Harder Than Windy Audio Alone
With standalone audio, you often receive a file that exists only to be cleaned. With video, the audio is attached to edit timing, visual cuts, and sometimes a compressed export that has already been through another app.
That changes the workflow in three ways:
- You need to protect sync.
- You often need a quick decision before doing the full edit.
- The on-camera mic is usually farther from the voice than an ideal speech mic would be.
So the best workflow is usually not finish the whole edit, then hope the repair effect saves it. The cleaner path is to judge the audio early.
First Check: How Bad Is the Wind?
Open the clip and listen to three moments before doing anything else:
- The first spoken sentence.
- The worst gust.
- A quiet gap between phrases.
If the speech remains easy to follow during the gust, you probably have a workable clip.
If the gust turns the words into thumps, overload, or broad smearing, cleanup becomes damage limitation. That is where honest expectations matter most.
Choose a Video Cleanup Path
Start from the original source clip before music, captions, transitions, or a loudness pass hide the problem. Then choose the path that matches the footage.
| Clip condition | Better starting path | Editing consequence |
|---|---|---|
| Wind changes across a long take but dialogue remains clear | Automated source-file cleanup | Review the complete cleaned output, then replace the source cleanly in the edit |
| Low rumble sits under most of the clip | Editor high-pass/low-cut control | Keep timing intact while adjusting the low end by ear |
| One or two gusts hit isolated phrases | Local editor repair | Limit stronger treatment to those regions and smooth the boundaries |
| Words are covered or the microphone audibly overloads | Alternate take, B-roll, subtitle, or ADR | Treat cleanup as rescue, not restoration |
Automated Source-File Cleanup
Use this path when the wind varies and you want the system to make section-level cleanup decisions.
- Keep the original video unchanged. Work from the least-compressed source, not a social-media download or an export that already contains denoise.
- Note three timecodes. Record the first spoken line, the worst gust, and a quiet transition. These are checkpoints for the complete output; CleanAudio chooses its preview segment automatically.
- Upload the original video. Let the hybrid model analyze changing noise conditions and generate the cleanup preview.
- Judge active speech in the preview. Listen for clearer words, intact consonants, and a stable voice. Reject a result that sounds watery, thin, or disconnected even if the pause is quieter.
- Download only when the preview is better. Then inspect the complete cleaned video at the three timecodes you noted. Confirm its duration and picture-audio relationship before editing further.
- Bring the cleaned video back as a replacement source. Align its first frame with the original. Disable or mute the original audio so two nearly identical tracks do not play together.
- Check sync at the beginning and end. Watch a visible consonant, clap, impact, or mouth closure near both ends. A short test export catches routing, double-audio, and sync errors that timeline playback can hide.
Automated cleanup is the simpler path for mixed wind, but it does not recover a word that was never captured cleanly. Preserve the original clip until the final export has passed review.
Manual Editor Repair
Use this path when the problem is mainly low rumble or a small number of gusts.
- Duplicate the audio or linked clip, then select the affected track or region.
- Open the editor's EQ or high-pass/low-cut control. Loop a spoken line that contains both normal voice and wind rumble.
- Raise the cutoff gradually until the rumble recedes. Stop and move it back down as soon as the voice loses weight or sounds nasal. If slope is available, start gently rather than choosing the steepest option.
- For isolated gusts, split or select around the affected phrase with a little audio on both sides. Apply stronger treatment locally and add short fades or crossfades so the tone does not jump at the edit.
- If broadband wind remains, add a light adaptive/noise-reduction pass and bypass it repeatedly. Adobe documents dialogue repair controls for noise and rumble, but the useful setting is the one that preserves the specific speaker [3].
- Replay the complete sentence and the cut boundary. Export a short sample before committing the full timeline.
Do not delete a gust that occurs under a word: removing time also removes speech and can disturb sync. If the damaged line is not usable, video gives you editorial alternatives such as a cleaner take under B-roll, a subtitle, or replacement dialogue.
For a video file, make the review concrete:
| Review moment | Why it matters | What to do next |
|---|---|---|
| Opening line | This decides whether viewers trust the clip. | Clean or retake before editing around it. |
| Worst gust | This reveals the real limit of the file. | If words vanish, do not keep pushing denoise. |
| Cut boundary | Cleanup can make edits feel uneven. | Compare the audio tone before and after the cut. |
| Music-on preview | Music can hide problems temporarily. | Lower music before adding more cleanup. |
| Export preview | Compression can expose artifacts. | Watch the final file, not only the timeline. |
If the clip fails only at one gust, consider cutting around that line, using B-roll over a cleaner alternate take, or adding a short subtitle. Those are video decisions, not just audio decisions, and they often save a clip better than another heavy denoise pass.
When an Editor Is Enough
Use your editor's built-in repair tools first when:
- The wind is mild.
- The clip is short.
- The voice is already close to the mic.
- You are mostly hearing low rumble rather than violent buffeting.
- You need to stay inside the existing edit timeline.
That is the practical role of editor repair tools. They are convenient and fast. They are not a reason to pretend every windy clip is recoverable.
When a Dedicated Cleanup Workflow Is Safer
Move to a dedicated workflow when:
- The wind level changes a lot across the clip.
- The opening line matters and needs a cleaner preview decision.
- You want to judge the voice before adding creative edits.
- The editor cleanup starts making the voice watery, hollow, or papery.
This is where CleanAudio fits well. The productized path is simple: upload the original video, run cleanup, preview the result, and keep it only if the speech becomes easier to understand without sounding obviously processed.
That is also the right mental model for online cleanup. The win is better decision speed, not a guarantee that every gust disappears.
Prevention for the Next Shoot
Windy video gets much easier when you change capture conditions before post.
Based on the microphone guidance from Knowles and DPA, the high-value prevention steps are mechanical, not mystical [1][2]:
- Use real wind protection on the microphone.
- Move the mic closer to the speaker when possible.
- Turn the mic away from direct gusts.
- Use body position, vehicles, doorways, or walls as wind breaks.
- Record a second take in calmer conditions when the line is important.
These are old-school fixes, but they remain the most reliable ones.
What Not to Promise
Do not promise yourself that software will recover:
- Speech fully covered by gusts.
- Distortion caused by overload.
- Heavy wind on a distant phone or action-cam mic with no protection.
- Missing consonants that were never captured cleanly.
You can often make the clip easier to watch. That is different from fully restoring production-quality dialogue.
Sources and Further Reading
[1] Knowles Application Note AN-21: Microphone Wind Noise
URL: https://www.knowles.com/docs/default-source/default-document-library/an-21-microphone-wind-noise.pdf?sfvrsn=21ea4cb1_8
[2] DPA Microphones: The audio consequences of using wind protection on microphones
URL: https://www.dpamicrophones.com/mic-university/technology/the-audio-consequences-of-using-wind-rain-and-virus-protection-on-microphones/
[3] Adobe Premiere Help: Repair dialogue in Premiere
URL: https://helpx.adobe.com/premiere/desktop/add-audio-effects/adjust-volume-and-levels/repair-dialogue.html