How to Record Cleaner Audio Before Using Noise Removal
Noise removal works best when the recording already contains a clear, undamaged voice. The biggest gains usually happen before recording: move the microphone closer, reduce the loudest nearby source, keep levels below clipping, and make a short test in the actual room. Those changes improve the voice-to-noise relationship before software has to separate anything.
This does not mean every room must become a studio. It means giving the microphone a stronger voice signal and fewer competing sounds. Cleanup can then reduce the remaining fan, hiss, traffic, or room tone without working as hard against speech.
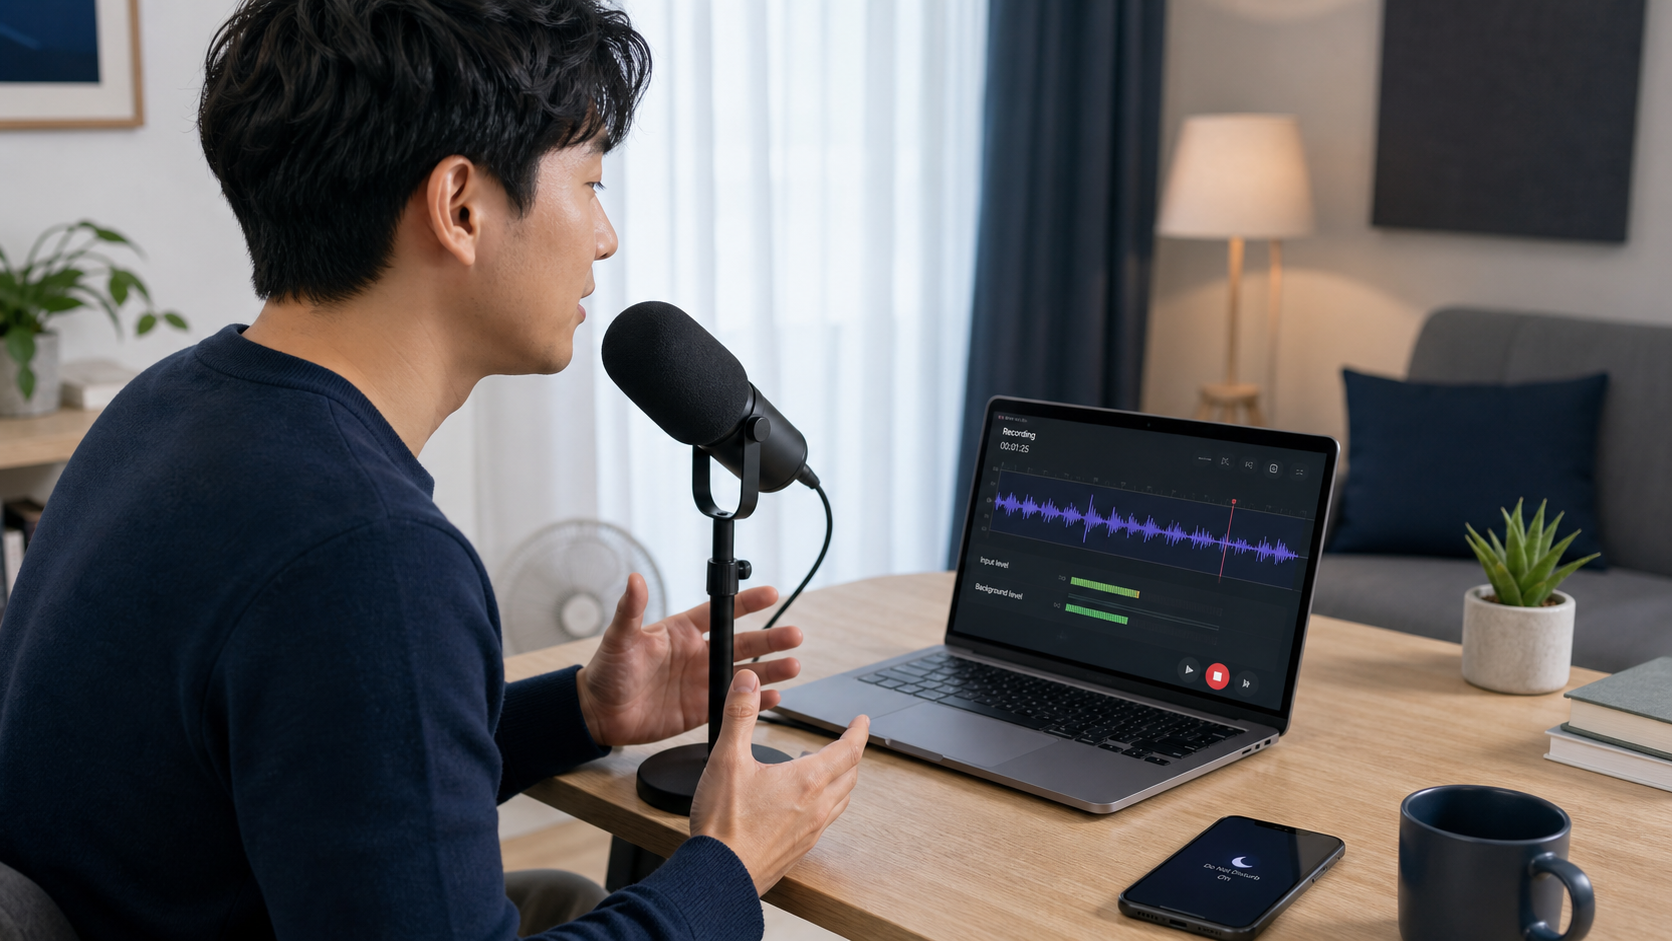
A cleaner recording starts with microphone position, room control, and a short level check.
Start With the Voice-to-Noise Ratio
A microphone records pressure changes, not intent. It does not know that the speaker matters more than the fan behind the laptop. What matters at capture is the relative level of the wanted voice and everything else reaching the microphone.
Moving a microphone closer to the speaker raises the direct voice relative to distant room noise. Shure's guidance on critical distance makes the same practical point: intelligibility problems caused by background noise are addressed by reducing the source or moving the microphone closer to the talker [1]. This is why a modest microphone at a sensible distance can produce a more useful recording than an expensive microphone placed across the room.
Distance also changes the balance between direct voice and reflected sound. Beyond the room's critical distance, reflected energy can dominate. The recording becomes more hollow, and later dereverberation has to distinguish the voice from copies of that same voice arriving milliseconds later.
For spoken content, begin close enough that the voice sounds direct but not so close that breath blasts and proximity effect become distracting. Angle the microphone slightly away from the mouth rather than aiming directly into the airflow. Use a pop filter when the microphone and format allow it.
Remove the Loudest Source Before Recording
Do not start by trying to make the room silent. Find the one source most likely to compete with speech.
| What you hear | Likely source | Useful action before recording |
|---|---|---|
| Low steady rumble | HVAC, desk vibration, traffic through a wall | Pause HVAC when practical, isolate the stand, move away from the wall or window |
| Broad rushing sound | Fan, air purifier, laptop cooling | Increase distance from the source, change its direction, reduce processor load |
| Electrical hum | Power supply, lighting, cable path | Test devices one at a time, separate audio and power cables, remove the noisy component |
| Hard room sound | Bare walls, windows, empty floor | Record near curtains, books, upholstery, or other absorptive surfaces |
| Keyboard and desk impacts | Shared desk and close mechanical sources | Move the mic off the desk, use a quieter input device, record narration separately |
This order matters. A fan moved two metres away does not need to be separated from every syllable later. A microphone stand isolated from a vibrating desk prevents low-frequency energy from entering the file at all.
Control the Room Without Building a Booth
Room treatment and noise control solve different problems. Closing a window reduces an external source. Adding soft material reduces reflections already inside the room.
For voice, concentrate on the surfaces nearest the speaker and microphone. A curtain beside a window, a rug on a hard floor, a filled bookcase, or a thick blanket outside the camera frame can reduce strong early reflections. Small changes are most useful when they interrupt a direct path between the voice, a hard surface, and the microphone.
Avoid improvised enclosures that place the microphone in a tiny reflective cavity. A box lined with a little foam can create a nasal or enclosed tone even if the room sounds quieter. Listen to a test rather than assuming more material is always better.
Set Gain to Protect the Recording
Gain should make speech comfortably visible and audible without flattening the tallest peaks. Digital clipping is not ordinary background noise. Once peaks exceed the recording system's available range, their shape is cut off and the missing waveform is not stored.
Set the level while speaking at the loudest realistic delivery, not while whispering a test phrase. Watch for laughs, emphasis, and words spoken closer to the microphone. Leave headroom rather than chasing the largest possible waveform. A quieter clean recording can be raised later; a clipped consonant cannot be fully reconstructed from information that was never captured.
Also check automatic gain control. It can be useful for calls, but in a controlled recording it may raise room noise whenever the speaker pauses. If the app or device allows a stable manual input level, compare both modes before the real take.
Record a 20-Second Test That Includes the Problems
A useful test is not only ten seconds of silence. Record the actual delivery:
- Speak softly, normally, and at the loudest expected level.
- Include plosive-heavy words and a natural pause.
- Type, move a page, or touch the desk if those actions will happen during the session.
- Listen on headphones for hum, fan noise, room reflections, clipping, and breath blasts.
- Fix the largest problem, then record the test again.
The quiet pause is still valuable because it reveals steady noise. The spoken section reveals whether that noise overlaps the voice and whether the microphone position sounds natural. Both are needed for a useful decision.
Monitor the Signal Before It Becomes a File
Headphones reveal faults that laptop speakers hide. Monitor from the recording device or interface when possible so you hear the signal actually being captured. A cable rubbing against a stand, a loose connector, or intermittent wireless interference may not be obvious in the room.
Do not monitor so loudly that normal room noise appears alarming. The goal is to detect faults, not to prove that a noise floor exists. Listen for whether the voice remains easy to understand at a normal playback level.
Match the Setup to the Recording Scene
Podcast or voice-over
Use a stable microphone position, reduce computer and HVAC noise, and keep the speaker at a repeatable distance. Record several seconds of room tone, but do not move farther from the mic just to capture it.
Video at a desk
Move the microphone as close as the frame allows. A microphone just outside the shot usually captures less room and computer noise than an on-camera microphone across the desk. Isolate it from keyboard vibration.
Interview with two people
One distant microphone makes both voices share more room sound. Separate microphones usually provide stronger direct signals and more control. Check that one microphone is not receiving a delayed, lower copy of the other speaker at a troublesome level.
Outdoor recording
Wind protection is part of capture, not an optional effect. Use a suitable physical windshield, shelter the microphone from direct gusts, and avoid exposed positions. Once wind buffeting overloads the capsule, cleanup may reduce rumble but cannot recreate speech that the distortion covered.
What Noise Removal Should Handle After Recording
Even a careful recording can contain low-level fan noise, hiss, traffic, or room tone. That is the right time to use background noise removal: after capture has preserved the voice and before the noise distracts the listener.
Manual noise-profile tools are useful when the unwanted sound is steady and a clean noise-only sample exists. Audacity's documentation notes that its Noise Reduction works on constant sounds such as hum, hiss, and fan noise, but is less suitable for irregular traffic or audience noise [2]. More varied recordings need a workflow that can respond to change rather than assume one noise profile describes the whole file.
CleanAudio's AI noise remover uses a hybrid-model workflow to analyze the uploaded recording, identify likely noise conditions across sections, route suitable cleanup, and provide a system-selected preview. The user does not need to build a filter chain before hearing whether the result is better. For audio-only material, use the dedicated audio background noise remover; video creators can preserve the picture and timing with the video noise remover.
Cleanup still has limits. Keep the original file, compare the preview at normal volume, and reject a result that loses consonants or makes the voice unstable. Noise removal should reduce distraction, not make the background mathematically empty.
A Pre-Recording Checklist
- The microphone is close enough to favor the voice.
- Direct airflow does not hit the capsule.
- The loudest fan, HVAC, or computer source has been reduced or moved.
- The stand is isolated from desk impacts.
- Hard nearby reflections have been softened where practical.
- Loud speech does not clip.
- A real 20-second test has been heard on headphones.
- The original recording will be retained before cleanup.