Background Noise Removal: What It Is, What Works, and When AI Helps
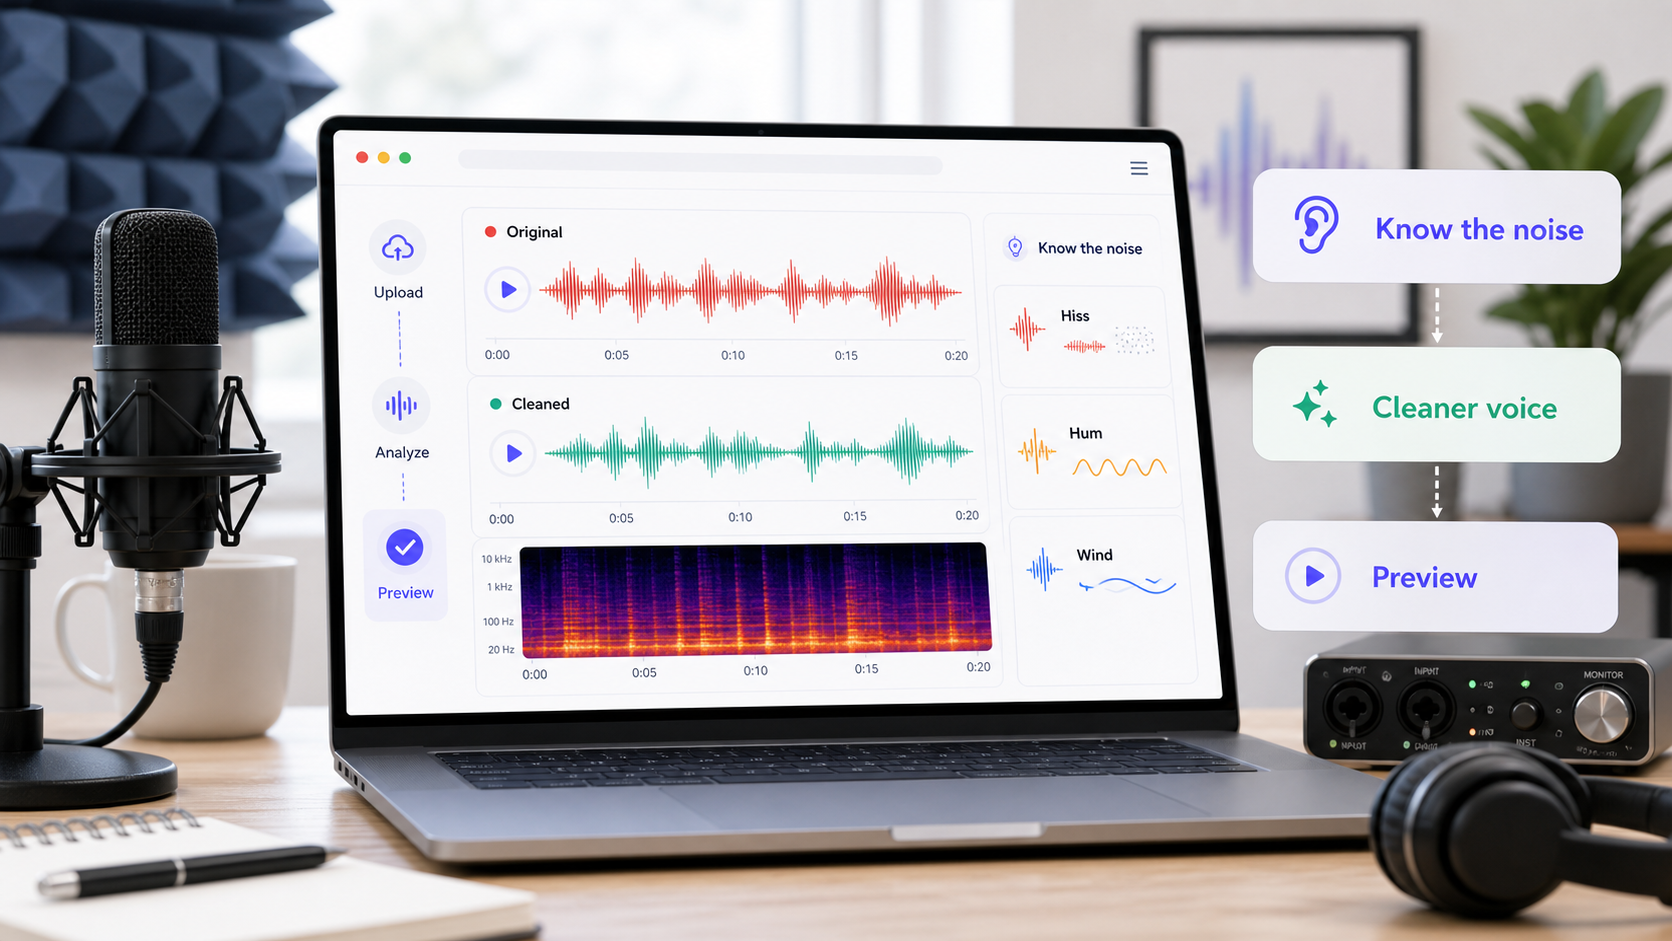
Background noise removal is the process of reducing unwanted sound that sits around or behind the voice you actually want to hear. That sounds simple, but it is not one cleanup problem. Fan hiss, electrical hum, keyboard clicks, wind buffeting, room reverb, and background speech behave differently, so they do not respond to one universal fix. Some noise can be reduced cleanly. Some can only be softened. Some recordings need a retake more than they need stronger processing.
That is the practical starting point most search results skip. Adobe's restoration documentation says broadband and background noise reduction works on issues such as hiss, microphone background noise, and power-line hum, but it also frames the process as a balance between reduction and signal quality rather than a perfect reversal [1]. Audacity's support guidance is even more direct: noise reduction works best on constant noise, and the recording will sound best if you prevent noise before recording [2]. If you understand those limits first, you make better cleanup choices and avoid the hollow, watery sound that comes from trying to force one tool to solve every kind of noise.
If you want a quick workflow after that diagnosis step, CleanAudio's AI noise remover is the practical path when the voice is still intelligible and the noise is distracting rather than dominant. For related reading, see types of background noise in recordings, how to remove background noise from a microphone, how to remove static from audio, remove fan noise from audio, and remove hum from audio.
First, Identify What Kind of Noise You Are Hearing
A useful cleanup starts with naming the noise. The right path depends on the shape of the sound, how it overlaps with speech, and whether the voice is still strong enough to preserve.
A useful diagnosis is not just “this file is noisy.” It is more specific:
| What you hear | What is probably happening | Usually easier or harder? | Why it matters for cleanup |
|---|---|---|---|
| Steady hiss, fan, or HVAC | A relatively stable broadband layer behind the voice | Easier | The unwanted sound is consistent enough for noise reduction to model and lower. |
| Electrical hum or buzz | A tonal pattern, often around power-line frequencies and harmonics | Easier to moderate | The sound is narrow and repetitive, but harmonics may remain if pushed too lightly. |
| Keyboard clicks or handling bumps | Short transient events, not a continuous layer | Mixed | A broad full-file pass may damage speech just to chase a few moments. |
| Wind buffeting | Physical air movement hitting the microphone capsule | Harder | Wind changes quickly and can mask speech unevenly, especially in low frequencies. |
| Room echo or reverb | Reflections of the speaker's own voice | Harder | The problem is not an outside layer; it is delayed copies of the wanted voice. |
| Background speech or music | Another meaningful signal competing with the main voice | Hardest | Competing voices and music can overlap the same frequencies as the speaker. |
This is why “background noise removal” should be treated as a family of cleanup tasks. A steady fan and a reflective room are not the same technical problem. A file with hum under a close voice is not the same as a phone recording from across a kitchen.
The Technical Core: Separation, Stability, and Voice Preservation
A cleanup tool is always making a separation decision. It tries to reduce what sounds unwanted while preserving the speech, music, or source you want to keep. The more clearly those two things differ, the better the odds.
Three technical factors matter most.
1. Stability Over Time
Constant noise is easier because it repeats. Fan hiss, light microphone self-noise, and steady HVAC give the software a stable pattern to reduce. That is why Audacity's support page says its Noise Reduction effect works best on constant noise sources such as hiss, hum, whistles, buzzes, and fan-like sounds [2]. Audacity's public feature page also describes a noise-profile workflow built around selecting a noise sample first, then applying reduction to the rest of the audio [3].
Changing noise is harder. Traffic rises and falls. Wind hits in bursts. A chair scrape happens once. A café voice enters and leaves. Those sounds may be obvious to a human listener, but they do not give the cleanup system one stable signature to lower across the whole file.
2. Frequency Overlap With The Voice
Speech is broad. Vowels, consonants, breath, room reflections, plosives, and sibilance occupy different parts of the spectrum. If the noise sits mostly outside the important speech area, cleanup has more room to work. If the noise sits directly on top of speech, every reduction decision risks removing part of the voice too.
That is the reason background music, other speakers, and room reverb are difficult. They are not just “noise” in the simple sense. They contain structure, rhythm, or speech-like information. Room reverb is especially tricky because it is made from the same speaker's voice reflecting off surfaces. DPA's speech-intelligibility guidance explains that echo and reverb come from reflections on hard surfaces and can reduce intelligibility [4].
3. The Direct Voice-To-Noise Relationship
The best cleanup starts with a strong direct voice. If the speaker is close to the microphone, the voice gives the tool something worth preserving. If the microphone is too far away, the room and background noise become part of the recording from the beginning.
This is why microphone technique still matters in an AI cleanup workflow. Shure's recording guidance recommends keeping the microphone roughly 6 to 12 inches from the mouth for voice recording and generally close enough to avoid excessive room reflections and reverberation [5]. Cleanup can reduce distraction, but it cannot fully rebuild a close-mic recording from a distant, reflective one.
How This Explains The Hard Cases
The difficult files usually fail for one of those three reasons. Wind is hard because it is unstable and physical: it can hit the microphone capsule directly, create low-frequency bursts, and cover speech unevenly from one second to the next. A light wind bed behind a close voice may be softened; strong buffeting that swallows words is a different problem.
Keyboard clicks, mouth clicks, and handling bumps are hard for the opposite reason. They are short events, not a steady background layer. A broad full-file reduction pass may make the whole voice worse just to chase a few isolated moments. Those problems often need targeted repair, or an automated system that can avoid treating the entire recording as if it had one continuous noise bed.
Traffic, crowd noise, and background music are harder because they move and contain meaningful structure. They change in level, timing, and frequency balance. If they sit far behind the speaker, cleanup may reduce distraction. If they compete closely with the voice, the tool is separating two useful signals rather than subtracting a simple hiss.
Room reverb and echo are the most common misdiagnosis. They are not external noise in the same sense as a fan or hum. They are reflections of the wanted voice itself, arriving late from walls, floors, ceilings, or hard surfaces. That is why de-reverb can reduce the room impression, but it usually cannot recreate a dry close-mic take that was never captured.
What Background Noise Removal Actually Does
The simplest cleanup case is constant noise. Adobe describes its Noise Reduction effect as useful for background and broadband noise such as tape hiss, microphone background noise, and power-line hum [1]. Audacity describes a similar direction in plainer terms: select a noise-only part of the file, get a noise profile, then apply reduction [2][3].
Under the hood, the practical goal is not silence. It is controlled attenuation. A tool identifies patterns that appear unwanted and lowers them while trying to keep the wanted signal intact. In a manual workflow, the user often teaches the tool what to reduce by selecting a clean sample of the noise. In an automated workflow, the system estimates the noise pattern and presents a cleaned result for review.
The important word is “trying.” Adobe's documentation frames noise reduction as a tradeoff with the quality of the remaining signal [1]. That tradeoff is why aggressive settings can create metallic, watery, or robotic voice artifacts. A cleaner-looking waveform is not always a better listening experience.
How Cleanup Workflows Have Changed
The way people remove background noise has changed in layers. Each generation of tools solved a real problem, but each also introduced a different kind of friction.
| Workflow era | Representative workflow | Strength | Friction or limit |
|---|---|---|---|
| Manual noise-profile editing | Select a noise-only sample, capture a profile, apply reduction, preview, adjust | Strong for steady hiss, hum, and fan noise when the user has a clean sample | Requires the user to find the right sample and tune settings carefully. |
| Professional restoration suites | Use noise reduction, spectral repair, EQ, de-hum, de-click, and listening passes | Powerful for editors who understand the source and can make detailed repair decisions | Slower, more expert-driven, and easy to overprocess when the file has mixed problems. |
| Video-editor cleanup | Apply audio cleanup inside a broader editing timeline | Convenient when the audio is part of a video project | Often still requires the creator to understand which audio problem they are solving. |
| Productized AI cleanup | Upload, analyze, preview, and download if the voice is improved | Fastest for creators who need a publishable result without building an effects chain | Still limited by severe clipping, buried speech, heavy overlap, or badly captured source audio. |
This is the key tradeoff: older workflows give control, but they ask the user to become the routing engine. The user has to decide whether a section needs noise reduction, de-hum, de-click, de-reverb, EQ, or a retake. That is fine for an audio editor. It is a burden for a podcaster, founder, educator, or video creator who mainly needs the file to become listenable.
When Manual Cleanup Still Makes Sense
Manual cleanup is still useful when the file has one clear, stable problem and you want detailed control. For example, if a podcast track has constant fan hiss and a few seconds of room tone without speech, a manual noise-profile workflow can work well.
A practical manual workflow looks like this:
- Save a copy of the original file before processing.
- Find a short section that contains the background noise but no speech.
- Use that section as the noise reference or profile.
- Apply a light reduction pass to the whole recording.
- Preview speech, not just silence. Listen to consonants, breath, and pauses.
- If the voice starts sounding watery, metallic, or thin, reduce the strength rather than stacking another heavy pass.
- Use targeted tools for specific problems: hum reduction for tonal hum, de-click for clicks, and de-reverb for room reflections.
That workflow is not bad. It is just slow when the recording contains mixed problems. If the file has fan noise, a few clicks, a reflective room, and changing street noise, the user now has to decide which repair tool should touch which part of the file. That is where a productized cleanup workflow becomes more useful.
Where CleanAudio Fits: Hybrid Model Routing Instead of Manual Chain Building
CleanAudio is strongest when the voice is still present and the user wants the cleanup decision handled as a product workflow rather than a hand-built repair chain. The important distinction is not just “AI versus manual.” It is routing.
A mixed recording can contain several different noise behaviors in the same file: a steady hum under one section, a burst of wind in another, and room tone throughout. Treating the whole file with one blunt setting is rarely ideal. CleanAudio's hybrid model approach is designed around the productized version of that workflow: analyze the recording, identify the noise behavior across segments, apply the most suitable cleanup treatment, then let the user preview the result before download.
That matters for two reasons.
First, it improves the chance that each part of the file gets an appropriate cleanup path instead of forcing the user to guess. A stable layer can be treated differently from a short transient or a reflective room tail. Second, it lowers the editing burden. The user does not need to build a chain of noise profile, de-hum, de-click, EQ, and de-reverb decisions by hand just to find out whether the file is usable.
The right expectation is still practical, not magical. CleanAudio helps most when the direct voice is intelligible and the noise is distracting rather than dominant. It is less suitable when the important words are clipped, buried under another speaker, or covered by strong wind bursts. In those cases, no cleanup workflow should pretend the lost information can always be recovered.
A Practical Online Workflow for Real Files
If you are trying to clean a file now, use this sequence:
- Upload the original audio or video file to CleanAudio.
- Let the system analyze the recording and generate the cleaned preview.
- Listen to the noisiest sentence first, not only the cleanest moment.
- Compare three moments: the first spoken line, the worst noisy section, and a pause between phrases.
- Keep the cleaned result only if speech becomes easier to follow and the voice still sounds natural.
- If the result sounds thinner, watery, or less human, keep the original and consider a lighter manual path or a retake.
This workflow is deliberately listening-first. The success metric is not whether the background becomes perfectly silent. It is whether the listener can understand the speaker with less effort.
For audio-only files, the related tool page is remove background noise from audio. For video files, use remove background noise from video when you need the audio cleaned while keeping the visual track in sync.
Prevention Usually Beats Cleanup
Good cleanup starts before recording. That is not a moral lesson; it is signal quality.
Audacity's support guidance says recordings sound best when you prevent noise before recording [2]. DPA explains that background sounds and reflections reduce speech intelligibility [4]. Shure's microphone guidance gives the capture-side version of the same idea: keep the microphone close enough to reduce unwanted room reflections and reverberation [5].
The practical prevention checklist is short:
- Move the microphone closer to the speaker.
- Turn off fans, HVAC, or appliances when possible.
- Close windows if traffic or wind is the main problem.
- Add soft surfaces or move away from hard reflective walls.
- Record a 10-second test and listen on headphones before the full take.
- Leave a few seconds of room tone at the beginning if you may need manual repair later.
Those steps give every cleanup tool more useful signal to preserve. The better the direct voice, the more natural the final result can be.
A Decision Framework Before You Publish
Use this framework when deciding what to do with a noisy file.
| Situation | Best path | Why |
|---|---|---|
| Voice is clear, noise is steady | Try CleanAudio or a light manual noise-reduction pass | Both paths have enough stable signal to work with. |
| Voice is clear, noise changes across the file | Try CleanAudio first | Hybrid model routing is useful when the user does not want to manually choose treatments section by section. |
| File has one obvious hum or buzz | Use targeted hum cleanup or a manual tool if needed | Tonal noise often benefits from a specific treatment rather than broad reduction only. |
| File has echo or room reverb | Try light cleanup, but set realistic expectations | Reflections overlap with the voice, so heavy processing can sound unnatural. |
| Speech is buried, clipped, or covered by another speaker | Retake if possible | The needed voice information may not exist clearly enough in the recording. |
The simplest rule is this: if the voice is still there, cleanup can often reduce distraction. If the voice is gone, masked, clipped, or smeared into the room, stronger processing will not necessarily make it more human.
What Good Background Noise Removal Sounds Like
Good cleanup does not call attention to itself. It makes the message easier to hear.
A successful result usually sounds like this:
- Words are easier to understand.
- Noise pulls less attention away from the speaker.
- Pauses feel calmer without being chopped unnaturally.
- The voice still has body, breath, and natural dynamics.
A failed result usually sounds like this:
- Metallic or watery texture.
- Thin consonants.
- Pumping noise floor.
- A voice that sounds less human than the original recording.
When in doubt, choose the version you would rather listen to for five minutes. A slightly noisy natural recording is often better than a technically cleaner file that makes the speaker sound damaged.
Sources and Further Reading
[1] Adobe Audition Help: Applying noise reduction techniques and restoration effects
https://helpx.adobe.com/au/audition/using/noise-reduction-restoration-effects.html
[2] Audacity Support: Noise reduction & removal
https://support.audacityteam.org/repairing-audio/noise-reduction-removal
[3] Audacity: Remove Background Noise from Audio - Free Noise Reduction Tool
https://www.audacityteam.org/features/noise-reduction/
[4] DPA Microphones: How to improve speech intelligibility when amplifying the voice
https://www.dpamicrophones.com/mic-university/audio-production/how-to-improve-speech-intelligibility-when-amplifying-the-voice/
[5] Shure: Microphone Techniques for Recording
https://www.shure.com/en-US/docs/education/Microphone-Techniques-for-Recording