How to Remove Background Noise in iMovie
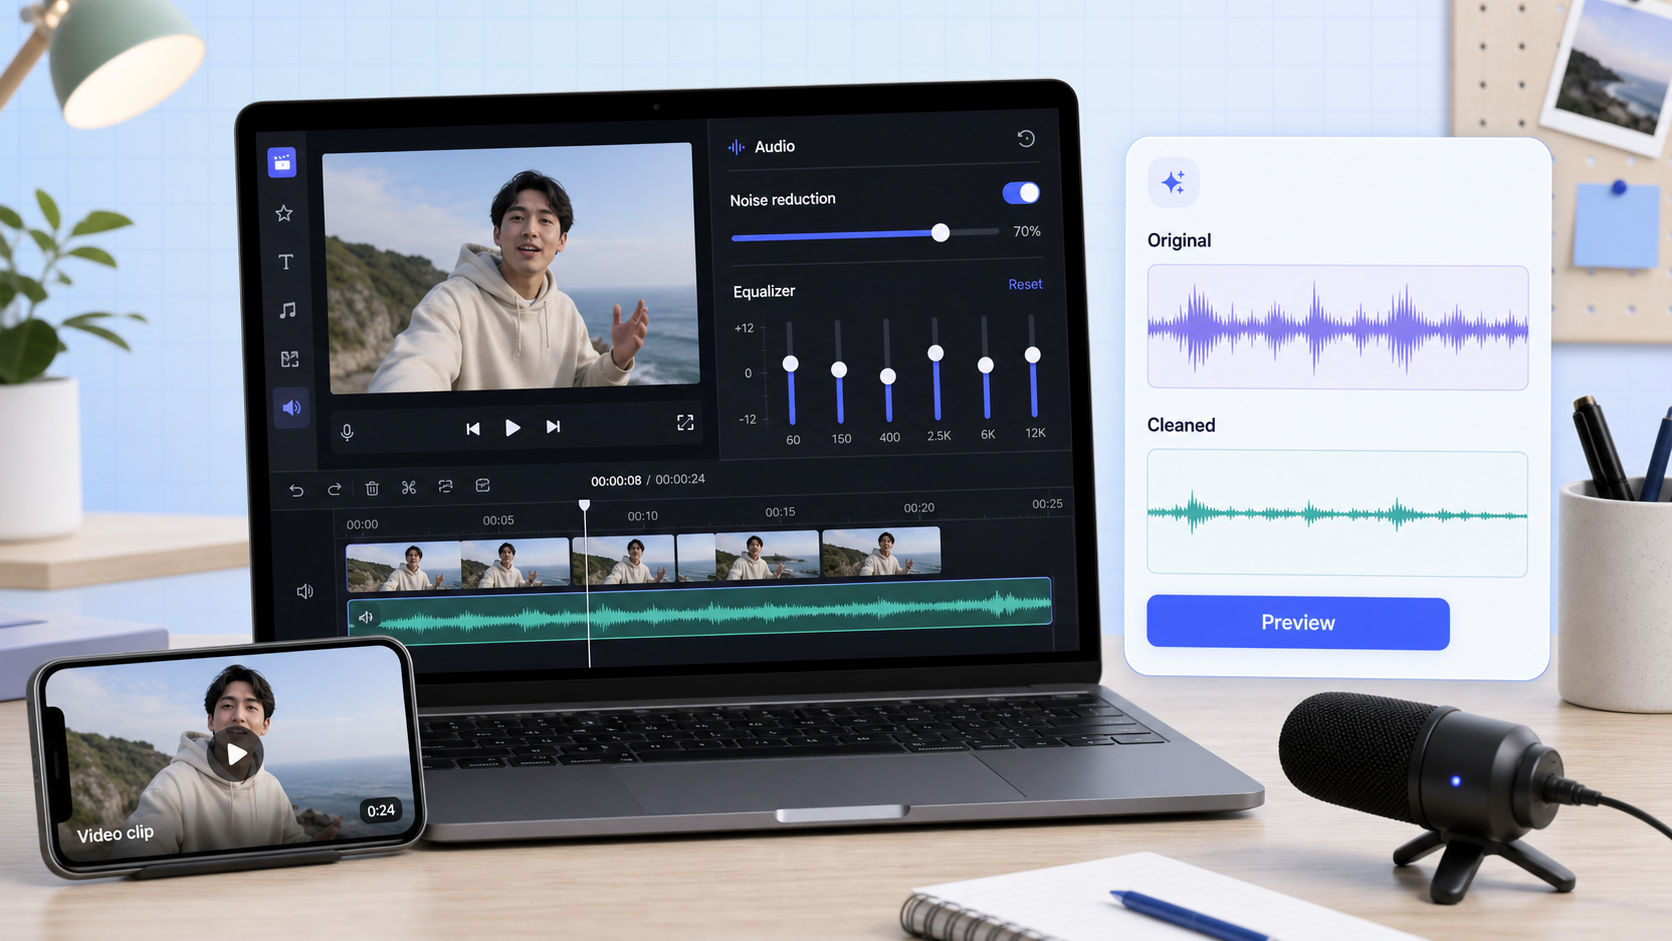
To remove background noise in iMovie on Mac, select the clip in the timeline, open the Noise Reduction and Equalizer controls, check Reduce background noise, adjust the slider, then play back the clip and refine the amount. Apple documents this exact path for iMovie on Mac, including the percentage slider and equalizer presets [1].
That makes iMovie a useful first-pass tool for simple creator videos. It is not a full audio restoration suite, and it is not always the fastest path for wind, echo, traffic, or mixed noise under speech. If iMovie helps but does not get the voice clean enough, export the file and run a dedicated cleanup pass with CleanAudio's video noise remover.
If you are unsure whether the problem is steady noise, a short event, or reflected voice, use the broader background noise removal guide to identify it before raising the slider.
The iMovie Mac Workflow
This procedure applies to iMovie on Mac. The iPhone and iPad interfaces do not use this same control path.
- Open the movie project and import the source. Add the video or audio to the project, then drag it into the timeline. Keep the original media outside the project so you can return to an untreated copy.
- Select the correct timeline clip. Click the video clip with embedded audio or the detached audio clip. A yellow outline shows the active selection; the adjustment controls affect that selection rather than every clip automatically.
- Open Noise Reduction and Equalizer. In the adjustment bar above the viewer, click the Noise Reduction and Equalizer button. If the panel does not appear, reselect a timeline clip that actually contains audio and widen the iMovie window so the adjustment buttons are visible.
- Enable Reduce background noise. Select the checkbox. Apple exposes a percentage slider: 0% applies no reduction and 100% is the maximum [1].

iMovie Reduce background noise control — From Apple Support.
- Choose a representative spoken section. Loop or replay a line where the voice and background occur together. A silent pause cannot show whether processing is removing consonants or body from the speaker.
- Raise the percentage gradually. Move the slider right until the background becomes less distracting. Stop and move it left if the voice turns dull, watery, thin, or unstable. Maximum is a boundary of the control, not a recommended target.
- Compare the same line with the checkbox on and off. Keep playback volume similar. A louder version can appear clearer even when the tonal result is worse.
- Use EQ only for a remaining tonal issue. In the same panel, choose an equalizer preset only after noise reduction is settled. EQ can change vocal balance; it does not separate changing traffic, wind, or room reflections from speech.
- Export a short test. Use iMovie's Share/Export File command to render a short project segment when practical. Play the exported file outside iMovie before committing a long movie, because the final encode and ordinary speakers may reveal artifacts missed in timeline playback.
- Export the complete movie and keep the original. Recheck the opening line, the noisiest passage, and a quiet transition in the delivered file.
The useful setting is the lowest percentage that makes the clip easier to watch while preserving the speaker. If different clips have different noise beds, adjust them separately rather than applying one amount to the whole project.
If consonants become metallic or vowels start moving unnaturally, use the checks in why noise removal can sound robotic before exporting again.
What iMovie Handles Well
iMovie is best when the recording is already understandable and the noise is light to moderate.
| Recording problem | iMovie first move | Expected result |
|---|---|---|
| Light fan or AC behind speech | Reduce background noise | Often useful if the voice is close. |
| Mild room bed | Reduce background noise plus preview | Can make the clip feel cleaner. |
| Slightly dull or thin voice | Equalizer preset | May improve tone, but do not overuse. |
| Uneven clip volume | Volume controls | Helps balance loud and quiet sections. |
| One loud bump or cough | Range volume edit or cut | Better than applying denoise to the whole clip. |
This is enough for many school projects, family videos, simple YouTube clips, and quick social edits. The built-in workflow is simple, and the biggest benefit is that you can hear the result while staying inside the edit.
Do Not Confuse Edit Level with Input Clipping
iMovie can change a clip's playback level, and its waveform display can help reveal sections that run very high [2]. That does not prove every harsh peak is recoverable. If the microphone or recorder clipped during capture, lowering the clip volume only makes the distorted waveform quieter; it does not recreate the flattened detail.
Use volume controls when one clip is simply louder than another. Use noise reduction when a background layer sits under otherwise intact speech. If the raw source crackles, flattens, or breaks up on peaks even at a lower playback level, treat it as capture damage and consider another take or an editorial replacement.
If the Noise Reduction Button Is Missing
Work through these checks before assuming the feature is unavailable:
| Symptom | Likely cause | What to do |
|---|---|---|
| Adjustment bar is visible but no audio controls react | No timeline clip is selected | Click the video or audio clip in the timeline, not only the browser media |
| Selected item has no usable audio | Silent still, title, or video with no audio track | Select a clip that contains sound or its detached audio component |
| Button is hidden | Window is too narrow or another panel has focus | Widen the window and look in the adjustment bar above the viewer |
| Instructions do not match the screen | Different platform | Confirm that you are using iMovie on Mac; iPhone and iPad require their own current interface path |
| Noise returns after an edit | Only one clip was processed | Select and adjust each affected timeline clip separately |
When iMovie Is Not Enough
iMovie becomes less reliable when the noise changes constantly or overlaps with the speaker. These are the common problem cases:
- Wind bursts in phone or action-camera footage.
- Traffic that rises and falls under speech.
- Cafe chatter or another voice near the microphone.
- Room echo that makes every word sound distant.
- Keyboard taps landing directly under narration.
- Clipped or distorted speech.
These are not just "more noise." They are different technical problems. Wind can overload the microphone. Echo is reflected voice. Traffic and crowds move through the same frequency range as speech. A single slider is convenient, but it cannot always choose the right treatment for each section.
Where CleanAudio Fits After iMovie
CleanAudio is useful when iMovie's built-in tool improves the file only halfway, or when you do not want to keep adjusting controls by ear. The workflow is simpler: upload the video, let the hybrid model analyze the recording, preview the cleaned audio, and download if the result is better.
The hybrid model point matters for real creator footage. A phone video may contain wind outside, room tone inside, and a few handling bumps during movement. CleanAudio is designed to identify different noise behaviors and route cleanup decisions without asking the user to manually choose an effect chain.
Use iMovie when the edit is the main job and the audio issue is light. Use CleanAudio when cleanup is the main job and the file needs a stronger or more specialized pass.
iMovie vs CleanAudio
| Need | iMovie fit | CleanAudio fit |
|---|---|---|
| Quick edit and light cleanup in one app | Strong | Secondary |
| Simple background noise slider | Strong | Different workflow |
| Mixed noise across a recorded file | Limited | Stronger fit |
| Wind, echo, traffic, or complex noise | Often limited | Better first test |
| Preview cleaned file before download | Basic playback | Core workflow |
| Full video editing | Strong | Not the main job |
If you are still editing the story, stay in iMovie. If the story is done and the audio is the problem, use remove background noise from video as the next pass.
Common Mistakes
| Mistake | Why it hurts | Better move |
|---|---|---|
| Setting noise reduction to maximum first | The voice may sound muffled or processed. | Start moderate and preview speech. |
| Treating wind like fan noise | Wind changes quickly and can cause distortion. | Use a wind-specific workflow or retake when clipped. |
| Ignoring clipping | Clipped speech is damaged at capture. | Lower volume does not restore missing detail. |
| Using EQ to solve every problem | EQ changes tone; it does not separate all noise. | Use EQ only after noise is reduced. |
| Exporting without a before/after check | The cleanup may sound worse outside iMovie. | Listen to the final file before publishing. |
Sources and Further Reading
- Apple Support - Correct and enhance audio in iMovie on Mac: https://support.apple.com/guide/imovie/correct-and-enhance-audio-mov86277afbd/mac
- Apple Support - Change audio volume in iMovie on Mac: https://support.apple.com/guide/imovie/change-audio-volume-mov3b5ded23e/mac