How to Clean Up Webinar Recording Audio
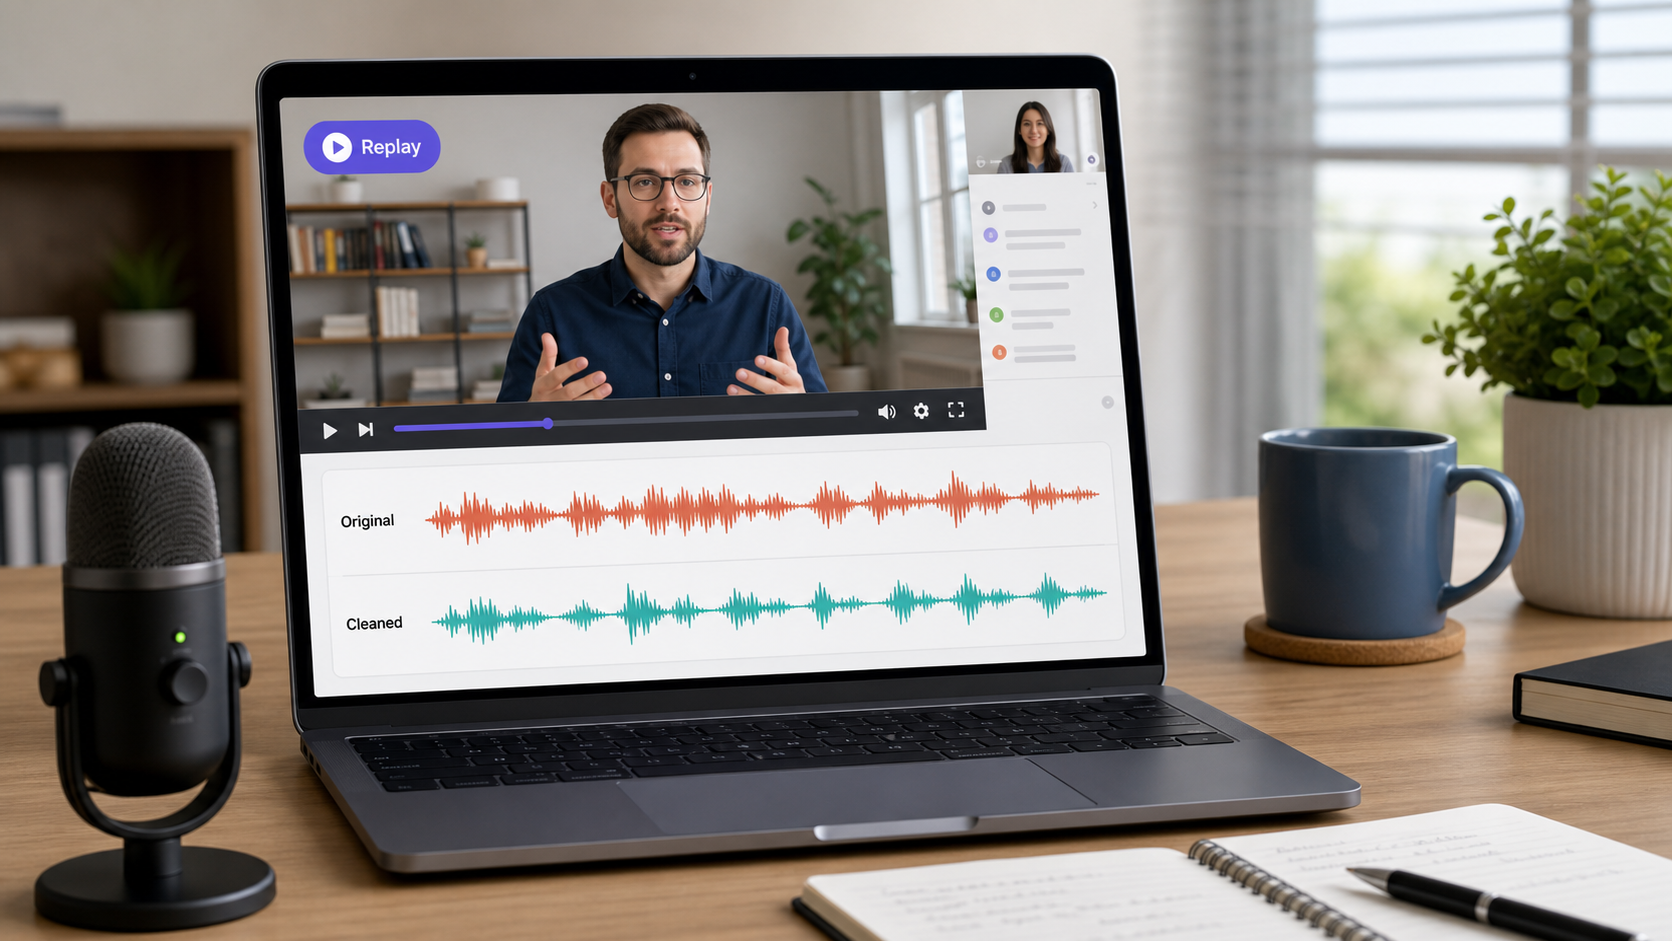
To clean up webinar recording audio, first decide whether the problem is steady background noise, room echo, speaker distance, level jumps, or platform compression. Then clean a copy of the recording, preview the worst audience-facing section, and export only if the replay is easier to understand.
Webinar audio has a different job from a short social clip. A viewer may listen for 30, 45, or 60 minutes. Small distractions become tiring over time. If the replay will become a lead magnet, course lesson, sales demo, or customer training asset, run the audio through a focused cleanup pass before cutting clips or uploading it to your content library. CleanAudio's audio noise remover is a good first step when the raw recording has distracting room noise or background sound under speech.
Start With a Quick Diagnosis
Do not clean a webinar blindly. Long recordings often combine several problems.
| Symptom | Likely problem | First move |
|---|---|---|
| Constant low bed under speech | Fan, HVAC, laptop noise | Try a noise cleanup pass |
| Hollow or distant voice | Room reflections or mic distance | Use an echo-aware workflow |
| One speaker much louder than another | Level mismatch | Normalize or split speaker sections |
| Words blur during screen share | Platform compression plus room noise | Clean lightly and preserve consonants |
| Random clicks or taps | Keyboard, mouse, desk hits | Repair or cut isolated events |
| Harsh distortion on loud words | Clipping or overload | Retake if possible; do not overprocess |
DPA's speech intelligibility guidance points out that background noise, room acoustics, microphone quality, playback, and recording conditions all affect whether speech can be understood [1]. That is why webinar cleanup is not only about making a waveform look quieter.
Choose a Webinar Cleanup Workflow
After diagnosis, choose the workflow that matches the recording. A webinar can need automated cleanup, manual editing, or both, but the order matters.
| Editing style | Best fit | Basic workflow | Tradeoff |
|---|---|---|---|
| Automated cleanup-first | Noise runs under many sections: fan, HVAC, room bed, laptop noise, mixed remote speaker noise | Clean a copy of the full recording first, preview the worst guest or Q&A section, then edit clips from the cleaner source | Fast and consistent across a long recording, but still needs review across speakers |
| Manual editor-first | Problems are isolated: dead air, one cough, a loud intro, private aside, obvious level jump | Cut or repair the exact event, adjust section levels, then use light cleanup only for the remaining steady bed | More control, but slower and easier to miss repeated low-level noise |
Automated Cleanup-First Workflow
Use this route when the same distraction appears across the replay. Webinar recordings are long, so repeated small noise can become tiring.
- Save a copy of the original recording.
- Check the host opening, a guest answer, a screen-share section, and the noisiest Q&A section.
- Run one speech-focused cleanup pass on a copy.
- Preview the marked worst section before downloading or exporting.
- Check whether the speaker is easier to understand without sounding thin.
- If the room still sounds hollow, use an echo-specific workflow.
- Use the cleaned version for clips, captions, transcript review, and replay hosting.
A productized workflow such as CleanAudio fits here when the speech is present but distracted by fan noise, laptop noise, HVAC, light room bed, mild chatter, or mixed background sound. Upload the recording, let the hybrid model analyze the file, preview the cleaned result, and download if the voice remains natural. This avoids forcing a single fixed manual setting across an hour-long webinar.
For webinars, this matters because noise changes by speaker. The host may sound clean, a guest may be in a reflective office, and Q&A may include typing or laptop fan noise. A single manual setting across the whole file can be too weak in one section and too aggressive in another.
Manual Editor-First Workflow
Use this route when the issue is editorial or local, not a continuous background layer.
- Cut long dead air.
- Remove private or off-topic chatter.
- Cut or repair one loud cough or keyboard hit.
- Lower a music intro or transition bed if it is separate.
- Adjust section levels if one speaker is much quieter.
- Then apply light cleanup only if a steady bed remains.
Manual editing is still useful because cleanup does not improve pacing, privacy, or structure.
| Problem | Manual move | Why |
|---|---|---|
| Long dead air | Cut it | Cleanup does not improve pacing |
| Private or off-topic chatter | Cut it | This is an editorial decision |
| One loud cough | Cut or repair locally | A broad cleanup pass may not target it |
| Speaker too quiet | Adjust level carefully | Noise cleanup is not the same as mixing |
| Music intro too loud | Lower the music bed | Do not ask noise removal to solve mixing |
Think of cleanup as making speech easier to listen to. Think of editing as making the webinar easier to watch.
Common Webinar Audio Problems
Room echo is common when the presenter uses a laptop mic in a hard room. Echo is reflected speech, so it can overlap the voice instead of sitting neatly behind it. Use remove echo from audio when the voice sounds hollow.
Background fan noise is usually easier. A stable fan or HVAC layer can often be reduced without changing the voice too much, especially when the microphone is close enough to the speaker. For the same problem outside a webinar context, see remove fan noise from audio.
Keyboard and mouse clicks are different. If a click happens once, cut or repair it. If light typing repeats under speech, cleanup may reduce the distraction, but do not expect a perfect edit.
Compression artifacts are harder. Meeting and webinar platforms may already compress audio before you download the recording. Cleanup can reduce distraction, but it cannot restore speech detail that was never captured clearly. If the source is a meeting replay rather than a formal webinar, the related workflow is clean Zoom recording audio.
Prevention for the Next Webinar
The best webinar audio is still made before cleanup. Shure's recording guide emphasizes microphone selection and placement, including moving the microphone to improve the balance between the wanted sound and unwanted room sound [2]. DPA also recommends reducing background noise and placing the microphone close enough to the mouth for better intelligibility [1].
For the next session:
- Use an external mic if possible.
- Put the mic close to the speaker.
- Turn off fans and loud HVAC where practical.
- Avoid empty rooms with hard walls.
- Record a 30-second test.
- Listen back through headphones before going live.
Cleanup helps, but a closer microphone gives every cleanup tool a better voice signal to preserve.
Replay Export Checklist
Before the cleaned webinar becomes a replay asset, check it like a viewer, not like an editor.
- Can the first minute be understood without captions?
- Does the quietest speaker remain clear?
- Do screen-share sections still match the visible action?
- Are long pauses, dead air, and private chatter removed?
- Does the audio stay comfortable for at least five continuous minutes?
- Are exported clips using the same cleaned source as the full replay?
This final pass is where audio cleanup becomes content quality. A webinar replay does not need to sound like a studio podcast, but it should not make the viewer work to understand the message.
FAQ
Should I clean a webinar before editing clips?
Yes, if audio quality is uncertain. Clean and preview the recording first, then cut clips from the better version.
Can AI remove echo from a webinar recording?
AI can reduce some room echo when the direct voice is still clear, but heavy echo is harder because reflections overlap speech. Use a dedicated echo workflow for hollow rooms.
What is the biggest webinar audio mistake?
Publishing the replay after checking only the opening. Always preview the worst speaker or Q&A section before export.
Sources and Further Reading
- DPA Microphones - How to improve speech intelligibility when amplifying the voice: https://www.dpamicrophones.com/mic-university/audio-production/how-to-improve-speech-intelligibility-when-amplifying-the-voice/
- Shure - Microphone Techniques for Recording: https://www.shure.com/damfiles/default/global/documents/publications/en/performance-production/microphone_techniques_for_recording_english.pdf-bb0469316afdb6118691d2f3f5e3ff01.pdf
- Audacity Manual - Noise Reduction: https://manual.audacityteam.org/man/noise_reduction.html