How to Remove Background Noise from a YouTube Video
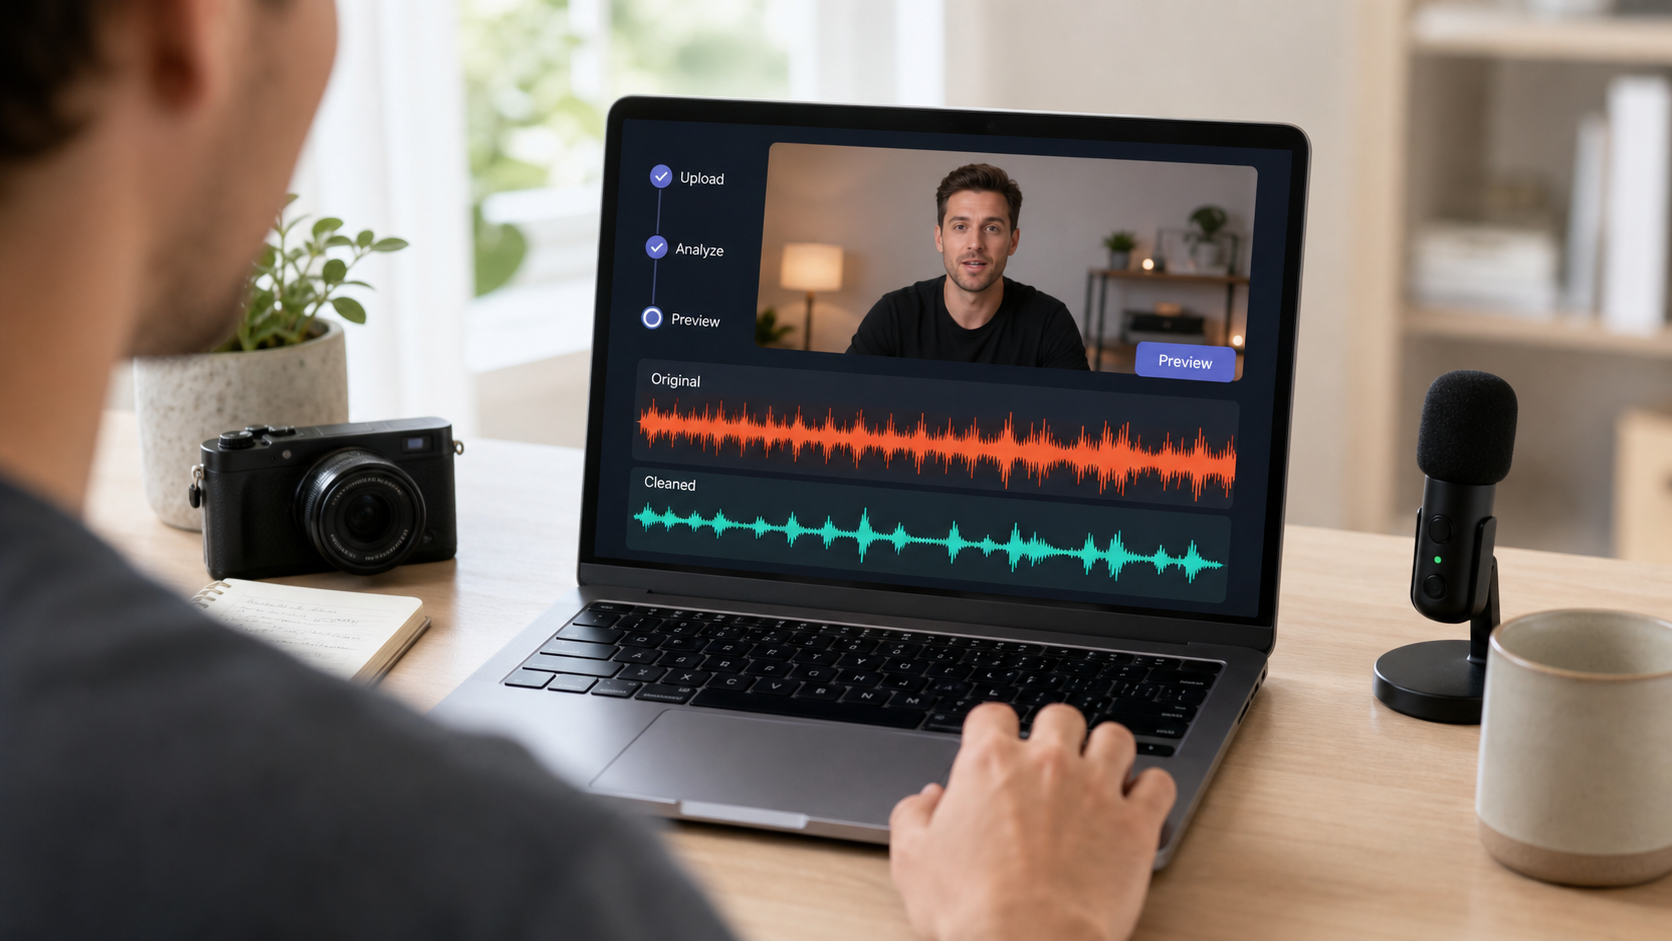
To remove background noise from a YouTube video, clean the source file before you publish it. On a phone, YouTube Create provides an Audio cleanup control: open the project, select the audio layer, tap Audio cleanup, review the voice, and save the edit [1]. On desktop, use a video editor or a dedicated video noise remover before uploading.
Do not treat YouTube Studio's viewer-facing audio improvements as a replacement for a clean master. YouTube may apply features such as Voice boost to some videos, but not every video receives them and viewers may control their own playback setting [2]. If a video is already public, decide carefully: YouTube does not let creators replace an upload while keeping the same URL [3].
Choose the Right Starting Point
The correct workflow depends on where the video is now.
| Current state | Best first action | Important limit |
|---|---|---|
| Not uploaded, editing on a phone | Use YouTube Create Audio cleanup | Review the whole voice track before export |
| Not uploaded, editing on desktop | Clean the source in an editor or CleanAudio | Keep sync and preserve the original |
| Uploaded as private or unlisted | Return to the source file, clean it, then upload the corrected version | The new upload receives a new URL |
| Already public with views or links | Diagnose whether the noise justifies a new upload | You cannot replace the media under the existing URL [3] |
| Only one noisy pause or interruption | Cut the local section if it can be removed without losing meaning | A cut cannot help noise under useful speech |
This distinction matters because "YouTube video" can mean a project being prepared for YouTube or a video already published on the platform. The first is an audio-cleanup problem. The second is also a publishing and URL decision.
Remove Noise with YouTube Create
YouTube's official help documents Audio cleanup in the YouTube Create mobile app. Availability depends on supported devices and regions [1][4]. Use the controls shown in your installed version.
1. Open the project and preserve the source
Open YouTube Create and start a project with the original video. Keep the untouched camera file in your device or cloud storage. Do not overwrite the only copy after one cleanup pass.
Play the first 20 to 30 seconds before changing anything. Identify whether the problem is steady fan noise, wind, traffic, room echo, background speech, or a single event. Audio cleanup can be a useful first pass, but the source determines what is realistically recoverable.
2. Select the correct audio layer
Tap the audio layer you want to edit. This is important when the project contains camera sound, a voice-over, music, and sound effects. Applying cleanup to the wrong layer may process clean narration or alter a soundtrack that was meant to stay unchanged.
If the voice is embedded in the original video sound, select that source audio layer. If you recorded a separate voice-over, select the voice-over instead.
3. Apply Audio cleanup
With the audio layer selected, use the bottom toolbar and tap Audio cleanup. YouTube describes this control as a way to remove unwanted noise and clean the voice recording [1]. Tap Done to save the change to the project.
Treat that as a first result, not automatic approval. The useful question is whether speech became easier to follow without losing consonants, breaths, or natural room continuity.
4. Review difficult sections
Check at least four moments:
- the first complete sentence;
- the loudest fan, wind, traffic, or crowd passage;
- a quiet sentence with soft word endings;
- the transition from speech into a pause.
Listen through headphones, then a phone speaker. Stop if the voice becomes metallic, watery, hollow, or unstable. If one local click remains in a pause, split or cut that moment instead of applying more cleanup to the entire track.
5. Export a short test before the full video
For a long video, export a short representative version first when your workflow allows it. Check lip sync, voice tone, and background continuity outside the editor. Then export the full master and upload it to YouTube.
Clean the Video Before Uploading with CleanAudio
Use a dedicated workflow when YouTube Create is unavailable, the file is already on a computer, or the background changes throughout the video.
- Keep the original video untouched.
- Upload a working copy to CleanAudio's video noise remover.
- Let the hybrid model analyze different parts of the recording and match likely noise conditions with suitable cleanup treatment.
- Listen to the system-selected preview.
- Compare the processed voice with the source at a similar playback level.
- Download only if the voice is clearer and still natural.
- Finish captions, cuts, music, color, and final export in your normal editor.
- Upload the cleaned master to YouTube as private or unlisted first, then review the processed upload before publishing.
This order keeps the job narrow. CleanAudio handles recorded audio cleanup; YouTube handles hosting, distribution, captions, channel management, and playback. For a fuller production sequence, use the video audio cleanup workflow.
What YouTube Studio Can and Cannot Fix After Upload
YouTube Studio can trim video sections and add music from the Audio Library. Its official audio-track workflow is designed around adding licensed music, not applying creator-controlled noise removal to the original dialogue track [5]. YouTube also documents automatic audio-quality improvements such as Voice boost, but those improvements are not applied to every video and are partly controlled at playback [2].
That creates three different tools that should not be confused:
| Tool | What it does | What it does not replace |
|---|---|---|
| YouTube Create Audio cleanup | Cleans a selected audio layer during mobile editing | Detailed post-production review for every noise type |
| YouTube Studio Audio | Adds music from YouTube's library | Denoising the uploaded dialogue master |
| Voice boost / playback improvements | May make dialogue easier for some viewers | A consistently cleaned source for all viewers and exports |
If a public video has severe noise, a corrected upload receives a new URL [3]. Before deleting or replacing anything, consider embedded links, comments, search visibility, watch history, and the value of the existing page. Minor noise may not justify losing that history. Severe noise that makes the message hard to understand may justify a corrected upload.
Check the Result Before Publishing
A quieter waveform does not prove that the video is better. Review the content a viewer actually needs to understand.
Speech details
Listen to consonants such as s, t, k, and f. Check quiet words and sentence endings. Overprocessing often removes these details before it removes every trace of background sound.
Noise transitions
Listen to the pause after a sentence. If the room suddenly collapses into silence and then returns, the cleanup may be pumping or gating too aggressively.
Video sync
Watch the speaker's mouth near the beginning, middle, and end. A cleanup workflow should preserve the timing relationship between picture and sound. If the final export drifts, return to the source and verify that the video and audio durations match. YouTube's upload troubleshooting guidance also points creators back to editing the source before upload when audio or video tracks need correction [6].
Real playback
Upload privately or as unlisted, let processing finish, and review on headphones, a laptop, and a phone. Do not approve only from the editing timeline.
Match the Workflow to the Noise
| Noise in the source | First workflow | Review boundary |
|---|---|---|
| Constant fan, AC, or mic hiss | Audio cleanup or automated video cleanup | Stop if quiet speech becomes thin |
| Wind that changes during a vlog | Segment-aware cleanup | Strong gusts may have masked speech permanently |
| Traffic under outdoor dialogue | Automated cleanup, then local review | Traffic and speech may overlap heavily |
| Room echo | Use an echo-aware workflow | Broad denoising is not the same as dereverberation |
| One keyboard hit or chair scrape | Local cut or level edit | Do not process the full video for one event |
| Clipped speech | Replace the line or retake | Noise removal cannot reconstruct missing peaks |
| Background music mixed with speech | Preserve or remix from separate tracks when available | Voice and music separation is a different task |
For outdoor footage, see how to remove wind noise from video. If repeated processing starts to damage the voice, use the guide to robotic-sounding noise removal before increasing strength again.
Common YouTube Audio Problems
Audio cleanup is not visible in YouTube Create
Confirm that YouTube Create is available for your device and region, update the app, and select the audio layer rather than the video canvas. If the control still is not available, clean the source with a desktop editor or dedicated online workflow instead of inventing a menu path from an older screenshot.
The uploaded video still sounds noisy
Compare the local master with the processed YouTube upload. If both are noisy, return to the original source and clean it. If only the upload sounds different, wait for processing to finish and test another device before making a replacement decision.
The voice became robotic
Return to the untouched source and use one lighter pass. Do not stack several exports and cleanup passes. Preserve a little stable room sound if removing it would damage speech.
The video is already public
You cannot replace the media while keeping the same YouTube URL [3]. Decide whether a corrected upload is worth the loss of the current video's links and engagement. For a minor issue, captions or a pinned clarification may be less disruptive. For unintelligible audio, a corrected upload may be the better long-term asset.
FAQ
Can YouTube Studio remove background noise from an uploaded video?
YouTube Studio documents trimming and adding Audio Library tracks, while YouTube's creator-facing Audio cleanup control is documented in YouTube Create [1][5]. For reliable control over dialogue cleanup, process the source before upload.
Does YouTube automatically clean video audio?
YouTube may apply audio-quality improvements, including Voice boost, when it expects them to help, but the feature is not applied to every video and viewer settings can affect playback [2]. Upload a clean master rather than relying on an optional playback improvement.
Can I replace a noisy YouTube video without changing the URL?
No. YouTube states that a new upload receives a new URL [3]. Existing videos can be modified with the controls YouTube provides, but the underlying upload cannot simply be replaced.