How to Clean Audio from Android Videos
To clean audio from an Android video, start with the original video file, run an AI cleanup pass, and compare the cleaned preview with the original before downloading. This is usually the fastest route when speech is still understandable but wind, traffic, fan noise, room sound, or handling noise changes through the clip. Keep the video and audio together so sync is preserved.
Manual editing is still useful for one isolated tap, a private aside, or a fault confined to a precise moment. It should be the exception here, not the starting point. If a loud gust or clipped input has completely covered a word, keep the original: cleanup can reduce distraction, but it cannot recreate speech that the phone never captured clearly.
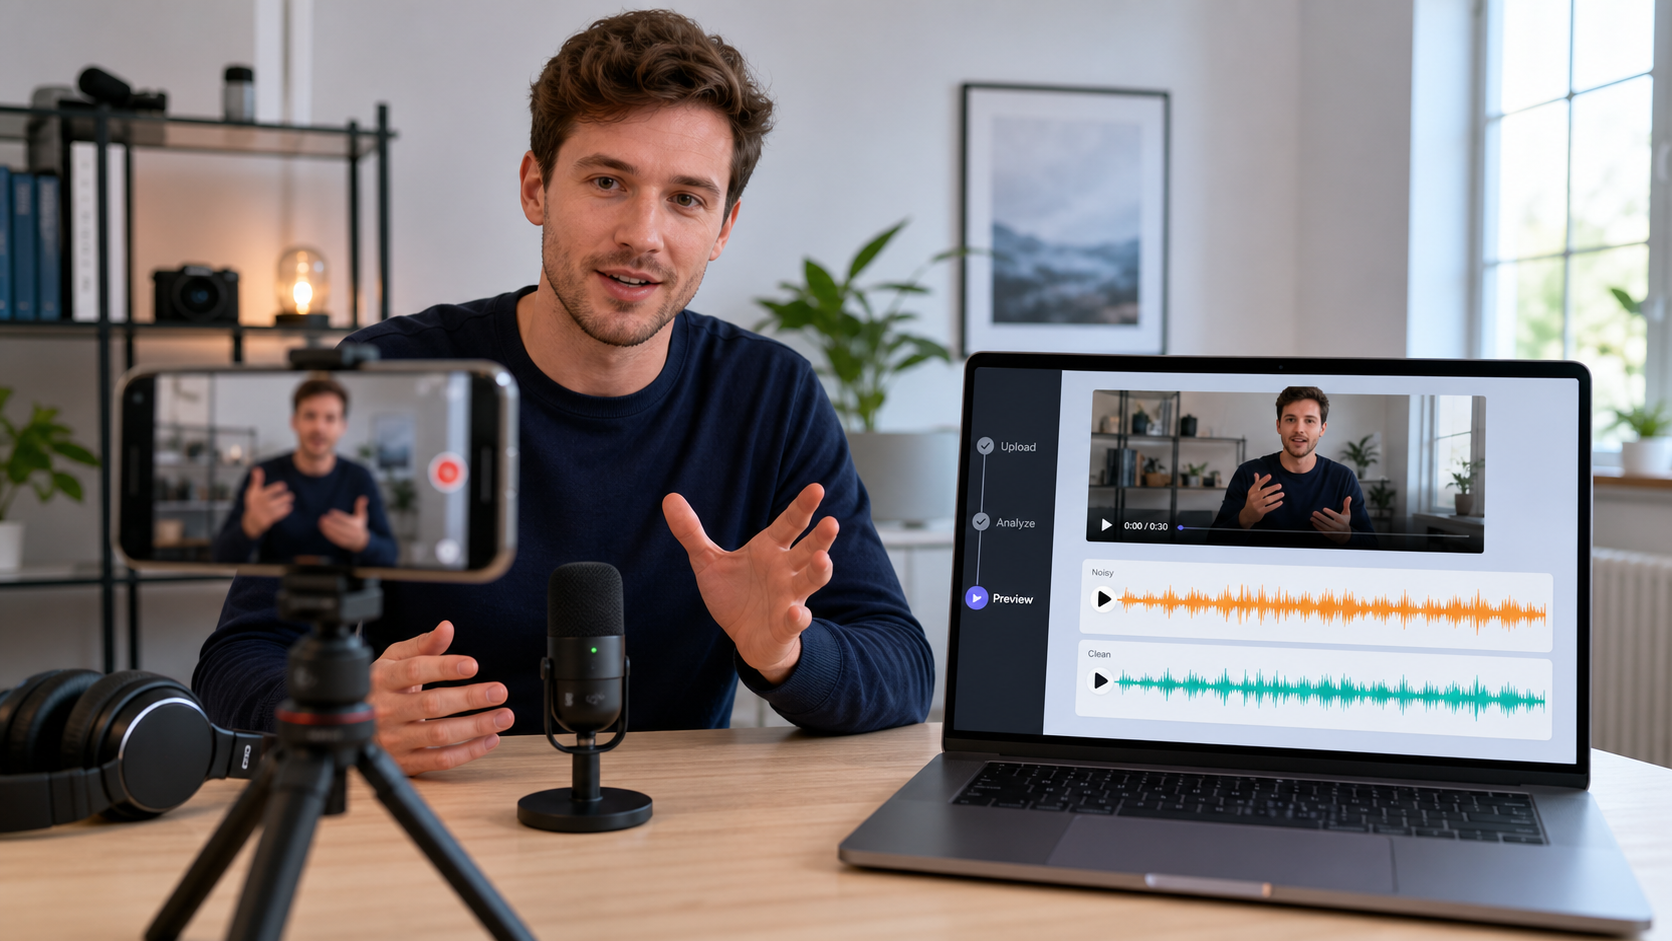
Android footage can stay intact while its audio is analyzed and previewed separately.
Clean Android Video Audio with AI: Step by Step
Use this workflow before building a manual effects chain. It suits talking-head clips, travel videos, interviews, tutorials, and other Android footage where the voice is the main subject.
1. Work from the original Android video
Transfer the file directly from the phone when possible. A copy downloaded from a messaging app or social platform may already have been recompressed, which gives any cleanup tool less detail to work with. Keep an untouched backup before processing.
Watch the original once with headphones. Note three moments: a normal sentence, the worst noisy passage, and a quiet pause. You will use those moments to judge whether cleanup actually helped.
2. Upload the complete video
Open CleanAudio's video background noise remover and upload the video rather than extracting its audio first. Keeping the media together avoids an unnecessary detach-and-resync step and lets you take the cleaned video back into your editor as one file.
If the project has several clips, begin with the noisiest representative clip instead of processing everything immediately. That short test tells you whether the captured voice is strong enough to preserve.
3. Let the hybrid model analyze the recording
Android footage rarely contains one perfectly stable noise profile. A walking clip can move from a quiet hallway to traffic, then catch a gust when the phone changes direction. CleanAudio's hybrid model analyzes sections of the file, identifies likely noise conditions, and routes suitable cleanup without asking you to choose a filter for every change.
This removes setup work, but it does not turn unrecoverable capture into clean dialogue. Input clipping, a fully masked word, or a speaker recorded far below a loud crowd remains a source limitation.
4. Compare the system-selected preview
CleanAudio selects a preview segment automatically. Listen to both the original and cleaned versions rather than judging only by how quiet the background becomes.
Check four details:
- Consonants:
s,f,t, andkshould remain crisp enough to understand. - Word endings: quiet syllables should not disappear or flutter.
- Breaths and pauses: the background should not pump abruptly between speech phrases.
- Voice identity: the speaker should still sound natural, not hollow, watery, or metallic.
The goal is a less distracting recording with intact speech, not mathematical silence.
5. Download only when the voice is better
Keep the cleaned result when speech is easier to follow and the person still sounds like the same speaker. If the preview is quieter but the voice has lost detail, keep the original or use a more selective manual repair for the affected moment.
For longer videos, review the downloaded result at the three moments noted earlier: a normal sentence, the worst noise, and a pause. The automatic preview is useful for an initial decision, but the finished file still deserves a full editorial check.
6. Return to the video editor
Bring the cleaned video back into the editing timeline for cuts, captions, music, color, and final export. Avoid adding another aggressive denoise effect on top unless a clearly different problem remains. Multiple heavy cleanup passes can make speech less stable even when each pass sounds acceptable on its own.
7. Check sync and the final mix
Check lip sync near both the beginning and end of the video. Then listen once with music and other project audio restored. A residual fan may become less noticeable under a music bed, while compression or loudness processing can make low-level artifacts more obvious.
The broader video audio cleanup workflow covers the handoff from noisy source footage to captions, editing, and final delivery.
What Result to Expect from Common Android Video Problems
The phone model is less important than what reached the microphone. Use this table to set expectations after the first cleanup pass.
| What you hear | What probably happened | What cleanup can realistically do |
|---|---|---|
| Constant fan, air-conditioning, or mic hiss | A steady noise layer sits beneath speech | Often reduce the layer while preserving a clear foreground voice |
| Traffic that changes as you move | Several broadband and low-frequency sources vary over time | Reduce distraction; results depend on how strongly traffic overlaps speech |
| Wind rumble and brief gusts | Airflow struck the microphone and may have overloaded it | Reduce surviving rumble; cannot restore syllables fully masked by a gust |
| Thumps, scraping, or case noise | Fingers, a mount, cable, or surface transmitted a local event | Broad cleanup may soften it; an isolated event is usually better repaired manually |
| Hollow or distant voice | The phone captured more room reflection than direct speech | Reduce some room character; cannot make a far microphone behave like a close one |
| Crackling or flat peaks on loud words | The input clipped | Noise removal is not the repair; use another recording when available |
Distance changes the balance before any software sees the file. Shure's critical-distance guidance reaches the practical conclusion directly: moving a microphone closer improves the ratio of direct speech to room and background sound [1]. That is why two Android phones in the same room can produce very different cleanup results when one is beside the speaker and the other is across the table.
When a Manual Edit Is Still Better
Use a manual editor only when the problem is local or editorial. You do not need to build a full manual noise-reduction workflow for an otherwise clean clip.
| Local problem | Simple manual action |
|---|---|
| One tap or handling bump between words | Cut, mute, or lower only that short region |
| A private aside or unwanted phrase | Remove the exact timeline section |
| One level jump | Adjust clip gain or a short volume envelope |
| A narrow, stable electrical tone | Apply a light hum-removal process and compare with bypass |
| One clipped word with a second microphone available | Replace that word or phrase from the alternate source |
Export a short test containing real speech and the fault. Stop if sibilants disappear, quiet words flutter, or the room switches unnaturally at the edit boundary. Professional editors expose separate controls for noise, rumble, hum, and reverb because these are different signal problems, not interchangeable strength settings [2].
Check the Cleaned Video Before You Use It
Do not approve a clip based only on a quieter waveform. Review it at normal listening volume, then slightly louder through headphones.
Use this order:
- Play the first complete sentence and confirm the voice starts naturally.
- Play the strongest wind, traffic, or fan passage and check whether the words remain intact.
- Play a quiet phrase and listen for fluttering or missing endings.
- Play a pause and listen for pumping, abrupt silence, or metallic residue.
- Watch the speaker's mouth near the beginning and end to confirm sync.
- Compare against the untouched original at matched volume.
If another cleanup pass removes more voice than noise, stop. A small amount of stable background is usually less distracting than unstable or robotic speech.
Handle Common Android Recording Scenarios
Indoor talking-head video
A fan, computer, refrigerator, and hard room may all enter the same take. Use the AI workflow first when those layers continue beneath speech. If the result remains hollow, the main limit may be microphone distance and room reflection rather than ordinary background noise.
Walking video outdoors
Wind, footsteps, handling, and traffic change as the phone moves. Keep the original clip intact, run the mixed-noise workflow, and review the moment the phone turns into the wind. The wind noise from video guide explains when software can reduce rumble and when the microphone was physically overloaded.
Concert, event, or loud venue
The crowd and music may be wanted content, not noise. A voice-oriented cleanup pass can weaken the atmosphere or tonal balance. If the input clipped during a loud peak, preserve the original and look for a second recording rather than pushing denoising harder.
Screen recording or app demonstration
Check whether the file contains system audio, microphone audio, or both. If they are separate, process only the noisy microphone source. Keyboard noise and room sound do not need to affect clean system playback. The OBS background-noise guide covers this split-source workflow in more detail.
Why Some Android Audio Cannot Be Fully Fixed
Cleanup works by separating a wanted signal from unwanted sound using the information that survived capture. Three conditions make that separation difficult.
First, voice and noise can occupy the same time and frequency range. Traffic, music, and background speech may cover the same cues that make words intelligible. Second, strong wind or loud sound can overload the microphone, flattening peaks before the file is written. Third, a distant phone records more reflected room sound and less direct voice, so there is no clean close-mic signal hidden underneath.
These are capture boundaries, not evidence that the user chose the wrong strength. When words are missing, clipped, or completely masked, the honest options are another microphone track, another camera angle, subtitles, a voice-over, or a retake.
Improve the Next Android Recording
- Keep fingers and the case away from microphone openings.
- Move the phone closer instead of raising gain from across the room.
- Use physical wind protection outdoors. RØDE distinguishes light-wind foam protection from stronger outdoor wind protection [3].
- Mount the phone or microphone so hand and desk vibration do not travel into it.
- Record a short test that includes speech, movement, and the loudest expected moment.
- Monitor with headphones when the recording matters.
- Leave headroom for laughter, emphasis, and sudden sounds.
The same capture principles apply when cleaning audio from iPhone videos. The interface changes; the microphone still needs a usable voice signal to preserve.